|
Visual Servoing Platform
version 3.2.0 under development (2019-01-22)
|
|
Visual Servoing Platform
version 3.2.0 under development (2019-01-22)
|
We assume that you have already followed the previous tutorial Tutorial: Installing ViSP for Java.
This tutorial will guide you through the creation of a simple Java console application using ViSP library in Eclipse.
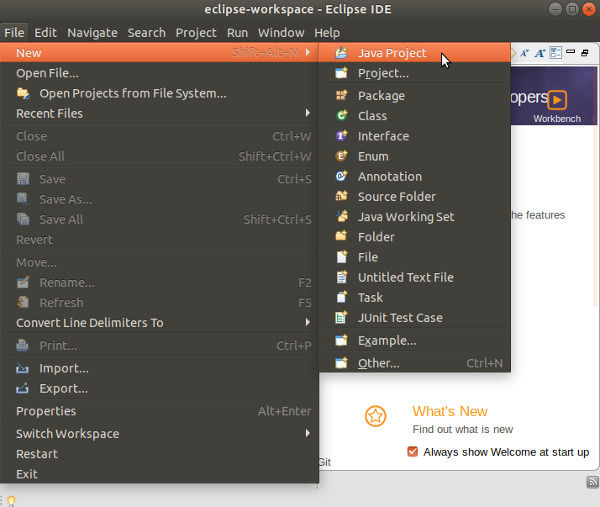
Open Eclipse and create a new Java project; open the "File" menu, go to "New" and click on "Java Project".
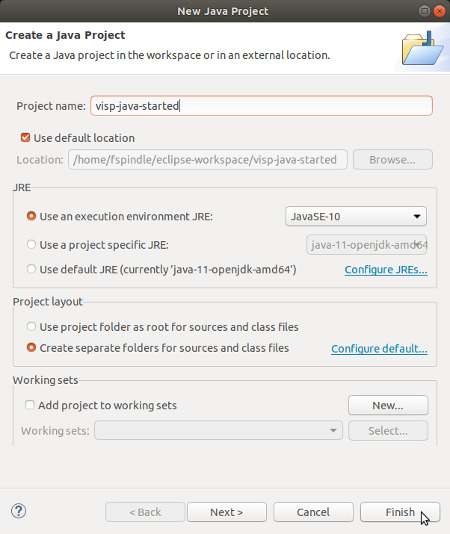
In the "New Java Project" dialog write the name of your project (let say visp-java-started) and click on "Finish".
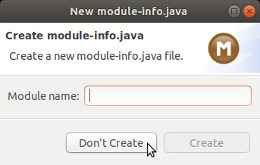
In the "New module-info.java" dialog that may appear, press "Don't Create" button.
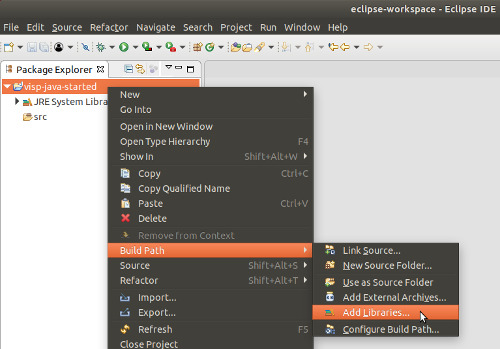
If you followed the previous tutorial (Tutorial: Installing ViSP for Java), you should already have ViSP library set in your workspace’s user libraries; if not please check out the previous tutorial. Now you should be ready to add the library to your project. Inside Eclipse’s Package Explorer just right-click on your project’s folder and go to "Build Path --\> Add Libraries...".
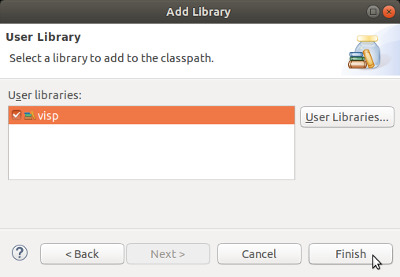
Select "User Libraries" and click on "Next":

Check the checkbox of the ViSP library and click "Finish".
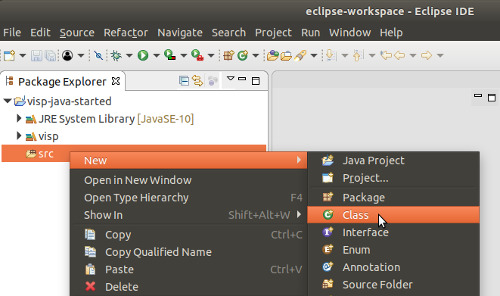
Now add a new Class to your project by right-clicking on your project’s folder and go to "New --\> Class".
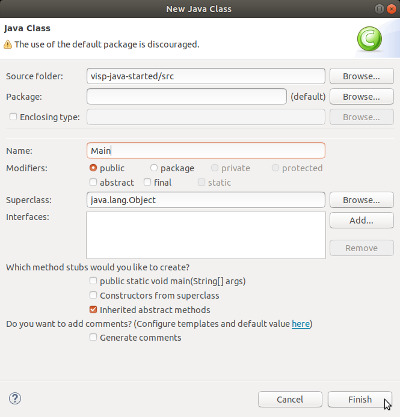
Write a name of your choice for both the package and the class then click on "Finish".
Now we are ready to write the code of our first application. Let’s start by importing the main classes part of core module (vpCameraParameters, vpColVector, vpImage, vpMatrix, vpRGBa). Then we load visp_java library. After we continue defining the main() method that shows how to manipulate ViSP classes in Java.
The code of the Main class is the following:
After a copy/paste you should have something similar to:

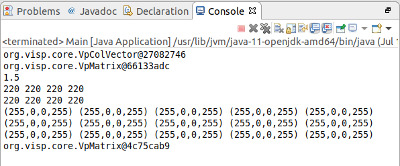
We can now try to build and run our application by clicking on the "Run" button. You should have the following output:
 1.8.11
