|
Visual Servoing Platform
version 3.2.0 under development (2019-01-22)
|
|
Visual Servoing Platform
version 3.2.0 under development (2019-01-22)
|
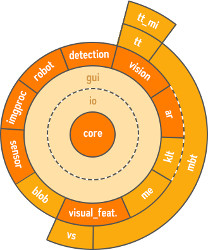
ViSP implements a modular architecture where each module:
visp_ The following image illustrates this modular architecture, where for example the tt_mi (template tracker with mutual information) module depends on the tt (template tracker) module which depends on the vision (computer vision) module that depends at the end on the core module. Note that the gui (graphical user interface) module and the io (input/output) modules are optional.
In this tutorial you will learn how to extend ViSP architecture introducing new contrib modules.
User may contribute to ViSP creating new modules. The following image shows the introduction of two new modules called contrib_1 and contrib_2. They depend on ViSP existing modules.
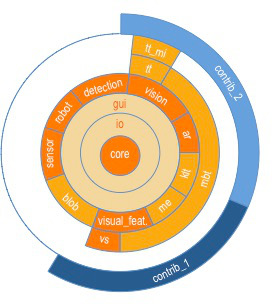
contrib_1 and contrib_2 modulesEven if it is possible to introduce these new contrib modules in ViSP source code tree, we suggest to separate them in different folders. It will ease ViSP upgrade to future releases avoiding mixing all the source code. In that case, contributions are nothing more than new modules apart from ViSP.
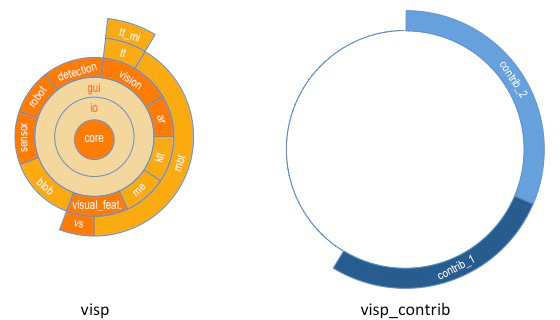
visp) that contains ViSP source code, on the right one (visp_contrib) or more other separate folders for the contrib modulesA typical source tree is the following:
In our previous example, in visp_contrib folder we may have the following tree:
Even if the source code is located in separate folders, ViSP build mechanism allows to build ViSP and the contrib modules together in a single build tree. Once build contrib modules will be part of ViSP; two libraries named visp_contrib_1 and visp_contrib_2 will be created near ViSP libraries (visp_core, …)
If we come back to our small example, building ViSP with our contrib modules is done with the following command:
In ViSP source code you will find a python script in script/create_module.py that allows to create a new module from scratch. The structure of the module created by the script is the following:
To know how to use this script, enter in ViSP source tree and run:
The following instructions allow to create a new module named contrib from scratch in a parent folder named visp_contrib. In this module we will introduce vpContrib.h and vpContrib.cpp files that correspond to vpContrib class implementation and the file test-vpContrib.cpp corresponding to a test that calls vpContrib constructor. There is also a CMakeLists.txt file that allows to build the module and the test.
The content of the visp_contrib folder is the following:
Now we are ready to build this new module.
We consider here that the workspace folder is C:/ViSP and that in this folder we have:
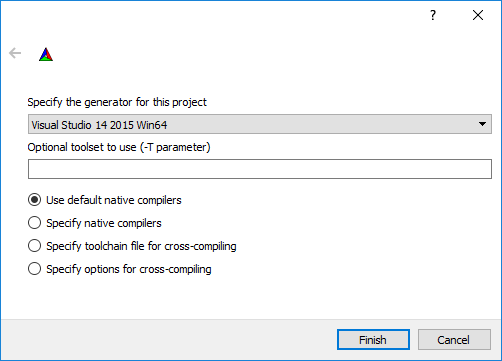
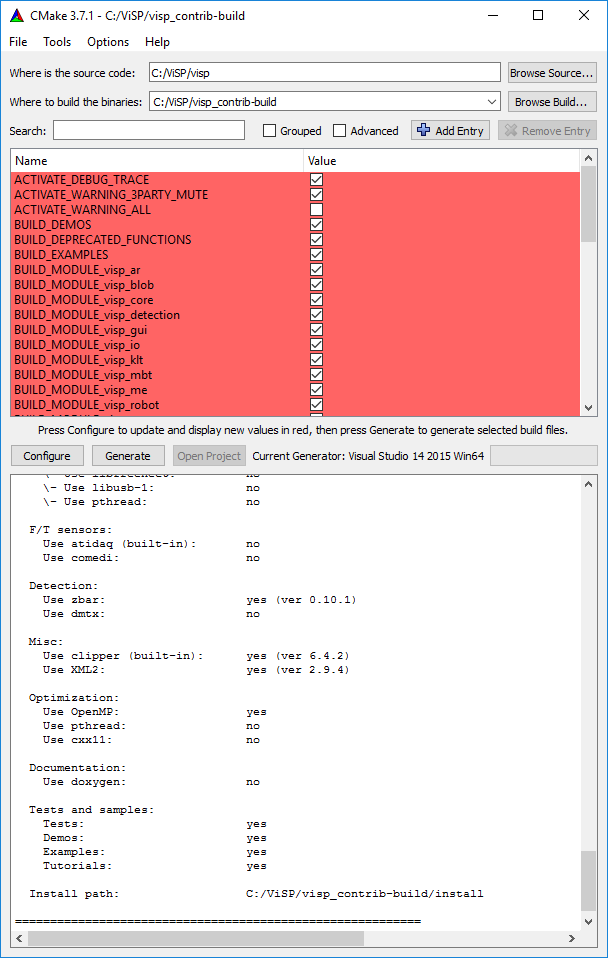
cmake-gui 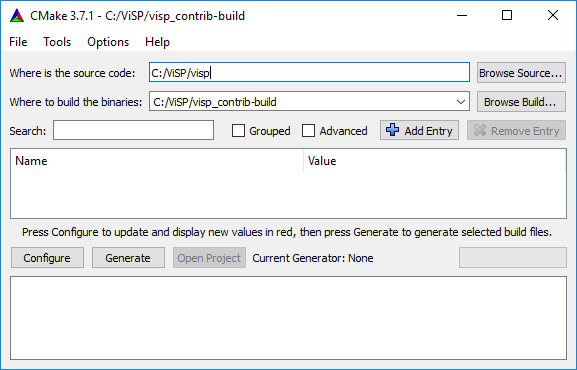
VISP_CONTRIB_MODULES_PATH var 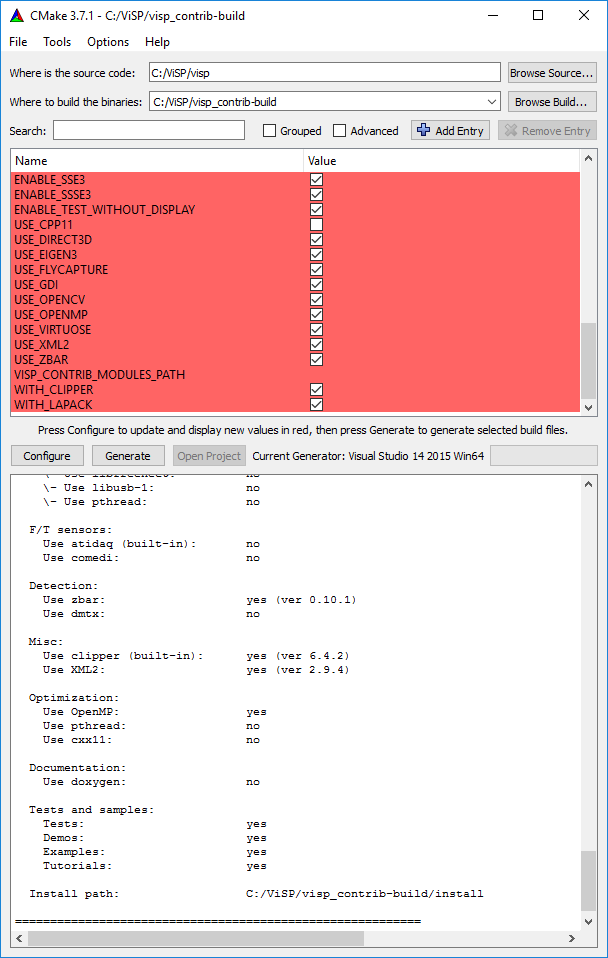
C:/ViSP/visp_contrib 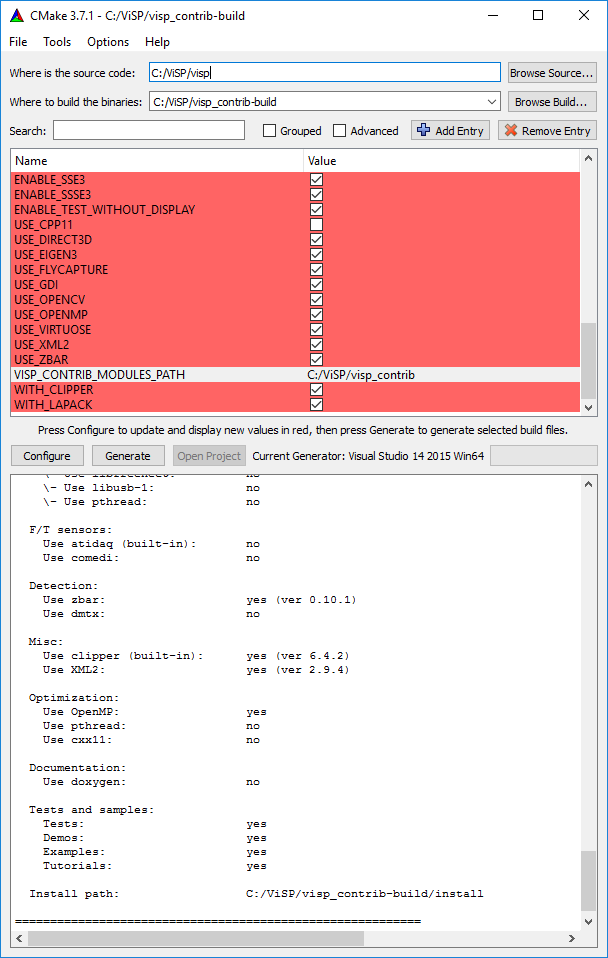
visp_contrib is appearing 
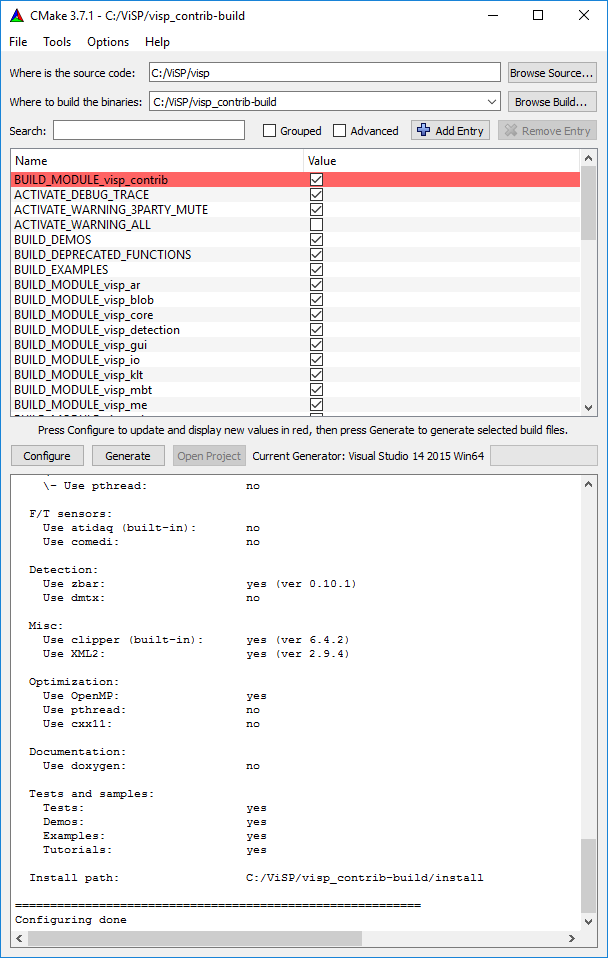
C:/ViSP/visp_contrib-build/VISP.sln solution file. As described in Tutorial: Installation from source for Windows with Visual C++ 2015 (vc14) you have now to build ViSP from source.We provide here after the link to existing contrib modules that use advanced functionalities:
modules/CMakeLists.txt file allows here to detect optional 3rd parties. It allows also to generate a separate doxygen documentation that contains only the classes part or UsTK. Tutorials and tests are also considered in UsTK.You are now ready to see the Tutorial: How to display an image.
 1.8.11
