 |
ViSP
2.9.0
|
 |
ViSP
2.9.0
|
In this tutorial you will learn how to install ViSP from source on OSX in order to be able to compile and use it for iOS development. These steps have been tested for OSX 10.8.4 but should work with any other distribution as well.
Concerning ViSP installation, we provide also other tutorials
ViSP can also be installed on other platforms including OSX, CentOS, openSUZE (see Install from source page).
ViSP is interfaced with several optional third-party libraries. The installation of the corresponding packages is described in Optional 3rd party packages section.
There are different ways to get ViSP source code:
We suppose now that ViSP source is in a directory denoted <source_dir>, for example $HOME/ViSP-2.9.0
Choose the right path for the <source_dir> and the <binary_dir> in c-make gui.

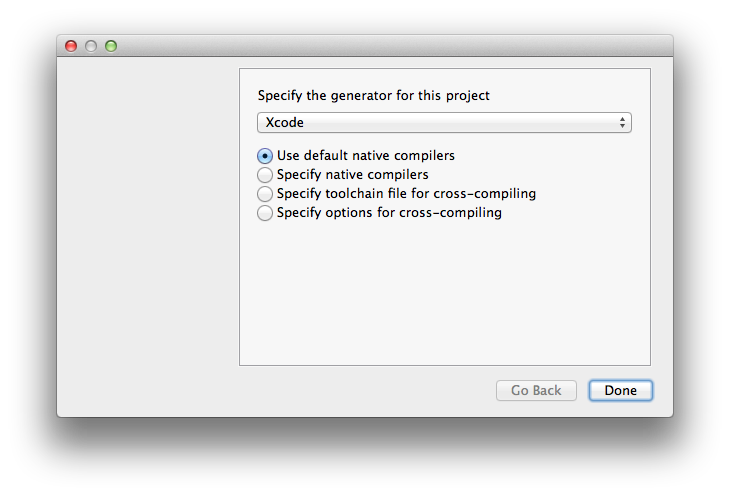
Press Configure on c-make gui to validate your configuration, choose Xcode as the generator for the project and press Done.

Make sure that USE_X11 is unchecked because we will not use the display part of visp for iOS, and USE_COIN is unchecked unless your really need it because their is a known bug on the OSX Coin package.

As mentioned previously, ViSP is interfaced with some 3rd party libraries. The complete list is provided here. We recommend to install the following:
Once installed, if you want that ViSP exploit the new 3rd party, you have to configure ViSP again.
Now we can finish the configuration stage by generating the Xcode project.
To generate the Xcode project press Generate on c-make gui. From now, c-make gui can be closed.
Launch Xcode (Version 4.6.2) and open ViSP.xcodeproj that should be in the <binary_dir> where you previously built ViSP sources.
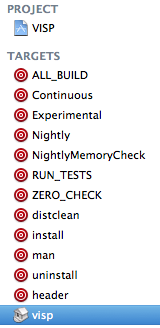
Open the VISP Project File at the top of your hierarchy in order to configure the project and select the visp target.

In the Architectures group, edit the following information in this order :

Now that you have correctly configured your project, choose the visp target and press run.

You are now ready to see the next Tutorial: Getting started for iOS that will show you how to use ViSP as a 3rd party to build your own project.