|
Visual Servoing Platform
version 3.6.1 under development (2025-03-11)
|
|
Visual Servoing Platform
version 3.6.1 under development (2025-03-11)
|
In this tutorial you will learn how to display an image in a window with ViSP either on Unix-like systems (including OSX, Fedora, Ubuntu, Debian, ...) or on Windows.
Note that all the material (source code and images) described in this tutorial is part of ViSP source code (in tutorial/image folder) and could be found in https://github.com/lagadic/visp/tree/master/tutorial/image.
ViSP gui module provides Graphical User Interfaces capabilities that allows to display a vpImage in a window. To this end you may use several optional third-party libraries which are: X11, GDI, OpenCV, GTK, Direct3D. We recommend to use X11 on unix-like systems thanks to vpDisplayX class and GDI on Windows thanks to vpDisplayGDI. If none of these classes are available, you may use vpDisplayOpenCV instead.
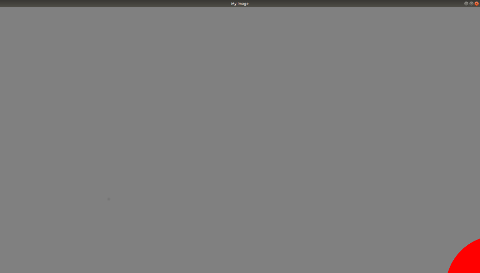
The following example also available in tutorial-image-display.cpp shows how to create a gray level 3840x2160 image with all the pixels set to 128, and display a red circle with 200 pixel radius in the middle of the image.
Depending on your screen resolution you may just see a part of the image, and certainly not the full red circle. Next image shows an example of this behavior when screen resolution is less than image size:
I is associated to display d. Depending on your platform, object d is either a vpDisplayX or a vpDisplayGDI.This other example available in tutorial-image-display-scaled-manu.cpp shows how to modify the previous example in order to introduce a down scaling factor to reduce the size of the display by 5 along the lines and the columns. This feature may be useful to display images that are larger than the screen resolution.
To down scale the display size, just modify the previous example adding the vpDisplay::vpScaleType parameter to the constructor.
It is also possible to do the same using the default constructor:
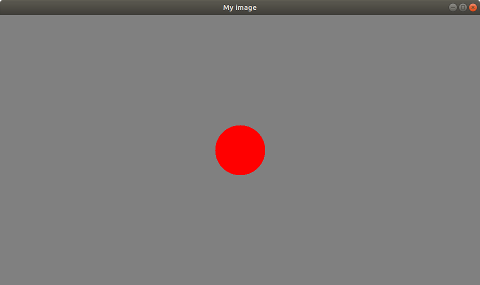
This other example available in tutorial-image-display-scaled-auto.cpp shows now how to modify the previous example in order to introduce an auto down scaling factor that is automatically computed from the screen resolution in order that two images could be displayed given the screen resolution.
To consider an auto down scaling factor, modify the previous example adding the vpDisplay::SCALE_AUTO parameter to the constructor.
It is also possible to do the same using the default constructor:
Next image shows the content of the display window:
You are now ready to see the Tutorial: Image frame grabbing or Tutorial: Image filtering.