Introduction
This tutorial will show you how to count the number of coins in an image. To do this, we will reuse some of the image processing techniques presented before and some other image processing methods:
The two sample images to test the image processing pipeline are:
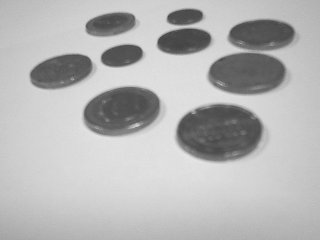
Sample image 1
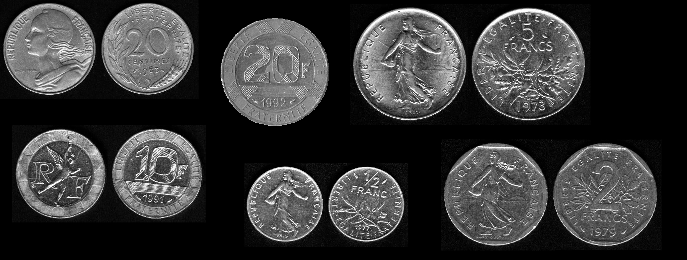
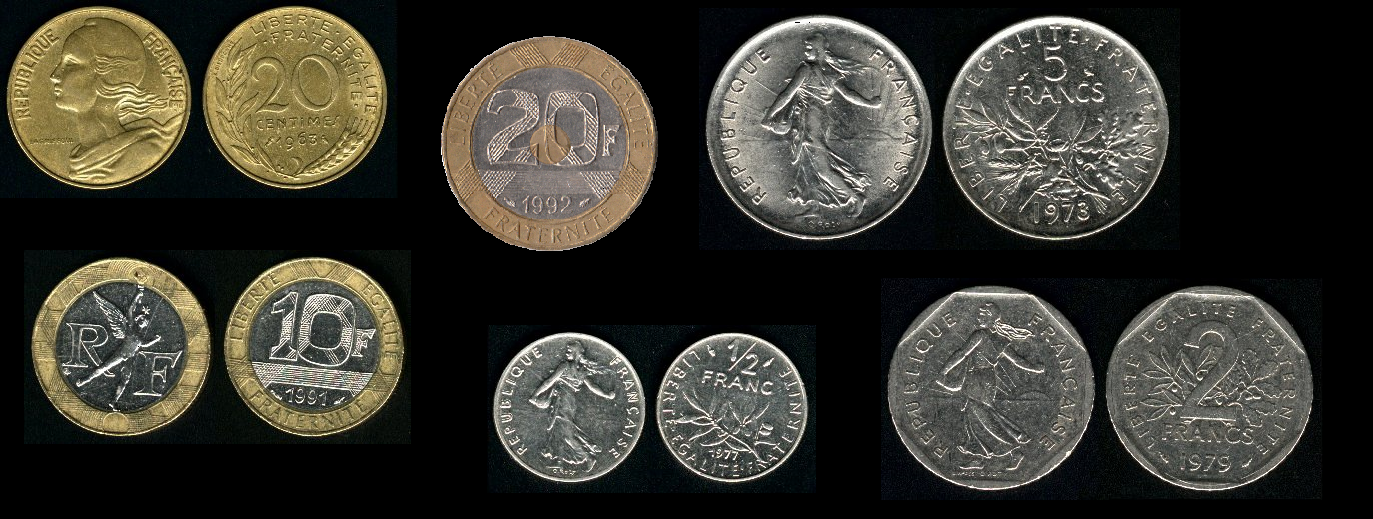
Sample image 2
The second image can be downloaded here (by Atacanus (Own work) [Public domain], via Wikimedia Commons).
We assume similar lighting condition and coins placement in the image to build the image processing pipeline.
Example code
The example code also available in tutorial-count-coins.cpp is:
#include <cstdlib>
#include <iostream>
#include <visp3/core/vpConfig.h>
#include <visp3/core/vpImage.h>
#include <visp3/gui/vpDisplayFactory.h>
#include <visp3/io/vpImageIo.h>
#if defined(VISP_HAVE_MODULE_IMGPROC)
#include <visp3/core/vpMomentObject.h>
#include <visp3/imgproc/vpImgproc.h>
#endif
int main(int argc, char *argv[])
{
#if defined(VISP_HAVE_MODULE_IMGPROC) && defined(VISP_HAVE_DISPLAY)
#ifdef ENABLE_VISP_NAMESPACE
#endif
std::string input_filename = "coins1.jpg";
bool white_foreground = false;
for (int i = 1; i < argc; i++) {
if (std::string(argv[i]) == "--input" && i + 1 < argc) {
input_filename = std::string(argv[i + 1]);
}
else if (std::string(argv[i]) == "--method" && i + 1 < argc) {
}
else if (std::string(argv[i]) == "--white_foreground") {
white_foreground = true;
}
else if (std::string(argv[i]) == "--help" || std::string(argv[i]) == "-h") {
std::cout << "Usage: " << argv[0]
<< " [--input <input image>]"
" [--method <0: Huang, 1: Intermodes, 2: IsoData, 3: "
"Mean, 4: Otsu, 5: Triangle>]"
" [--white_foreground]"
" [--help]"
<< std::endl;
return EXIT_SUCCESS;
}
}
#if (VISP_CXX_STANDARD >= VISP_CXX_STANDARD_11)
#else
#endif
display->init(I, 0, 0, "Coins");
I_bin = I;
display2->init(I_bin, I.
getWidth(), 0,
"Binarisation");
I_fill = I_bin;
display3->init(I_fill, 0, I.
getHeight() + 80,
"Fill holes");
for (
unsigned int cpt = 0; cpt < I_close.
getSize(); cpt++)
I_contours.bitmap[cpt] = I_close.
bitmap[cpt] ? 1 : 0;
std::vector<std::vector<vpImagePoint> > contours;
display5->init(I_draw_contours, 0, 2 * I.
getHeight() + 80,
"Contours");
int nb_coins = 0;
for (size_t i = 0; i < contours.size(); i++) {
std::vector<vpPoint> vec_p;
for (size_t j = 0; j < contours[i].size(); j++) {
pt.
set_x(contours[i][j].get_u());
pt.
set_y(contours[i][j].get_v());
vec_p.push_back(pt);
}
obj.fromVector(vec_p);
if (std::fabs(obj.get(0, 0)) >= I.
getSize() / 200) {
nb_coins++;
std::stringstream ss;
ss << "Coin " << nb_coins;
int centroid_x = (int)std::fabs(obj.get(1, 0) / obj.get(0, 0));
int centroid_y = (int)std::fabs(obj.get(0, 1) / obj.get(0, 0));
}
}
#if (VISP_CXX_STANDARD < VISP_CXX_STANDARD_11) && defined(VISP_HAVE_DISPLAY)
if (display != nullptr) {
delete display;
}
if (display2 != nullptr) {
delete display2;
}
if (display3 != nullptr) {
delete display3;
}
if (display4 != nullptr) {
delete display4;
}
if (display5 != nullptr) {
delete display5;
}
#endif
#else
(void)argc;
(void)argv;
#endif
return EXIT_SUCCESS;
}
Class that defines generic functionalities for display.
static bool getClick(const vpImage< unsigned char > &I, bool blocking=true)
static void display(const vpImage< unsigned char > &I)
static void flush(const vpImage< unsigned char > &I)
static void displayText(const vpImage< unsigned char > &I, const vpImagePoint &ip, const std::string &s, const vpColor &color)
static void read(vpImage< unsigned char > &I, const std::string &filename, int backend=IO_DEFAULT_BACKEND)
unsigned int getWidth() const
unsigned int getSize() const
Type * bitmap
points toward the bitmap
unsigned int getHeight() const
Class for generic objects.
Class that defines a 3D point in the object frame and allows forward projection of a 3D point in the ...
void set_x(double x)
Set the point x coordinate in the image plane.
void set_y(double y)
Set the point y coordinate in the image plane.
VISP_EXPORT void findContours(const VISP_NAMESPACE_ADDRESSING vpImage< unsigned char > &I_original, vpContour &contours, std::vector< std::vector< VISP_NAMESPACE_ADDRESSING vpImagePoint > > &contourPts, const vpContourRetrievalType &retrievalMode=CONTOUR_RETR_TREE)
VISP_EXPORT void drawContours(VISP_NAMESPACE_ADDRESSING vpImage< unsigned char > &I, const std::vector< std::vector< VISP_NAMESPACE_ADDRESSING vpImagePoint > > &contours, unsigned char grayValue=255)
VISP_EXPORT void fillHoles(VISP_NAMESPACE_ADDRESSING vpImage< unsigned char > &I)
VISP_EXPORT unsigned char autoThreshold(VISP_NAMESPACE_ADDRESSING vpImage< unsigned char > &I, const vpAutoThresholdMethod &method, const unsigned char backgroundValue=0, const unsigned char foregroundValue=255)
std::shared_ptr< vpDisplay > createDisplay()
Return a smart pointer vpDisplay specialization if a GUI library is available or nullptr otherwise.
vpDisplay * allocateDisplay()
Return a newly allocated vpDisplay specialization if a GUI library is available or nullptr otherwise.
To run the demo code for the sample image 1:
To run the demo code for the sample image 2:
$ ./tutorial-count-coins --input coins2.jpg --white_foreground
The functions we will use needs the following includes:
#include <visp3/core/vpMomentObject.h>
#include <visp3/imgproc/vpImgproc.h>
The image processing functions in the imgproc module are declared in the vp:: namespace.
The first thing to do is to read the image using:
As we assume the coins are placed on an uniform background with a distinct color, we can use an automatic thresholding method to binarize the image:
We use an option to switch between dark or bright background. The coins will be represented with 255 values after the binarisation, as you can see in the following images:

Otsu's thresholding for the sample image 1
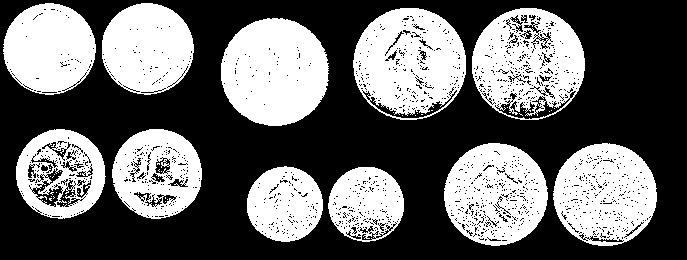
Otsu's thresholding for the sample image 2
You can notice some "holes" in the binarisation due to some shiny parts of the coin for the first case and to some dark parts of the coin in the second case.
We can now use a function to fill the holes in the binary images:
The fill holes algorithm is basic:
- flood fill the binary image using a seed point just outside of the image

Left: binary image, right: result of the flood fill operation
- subtract the flood fill image from a white image to get only the holes
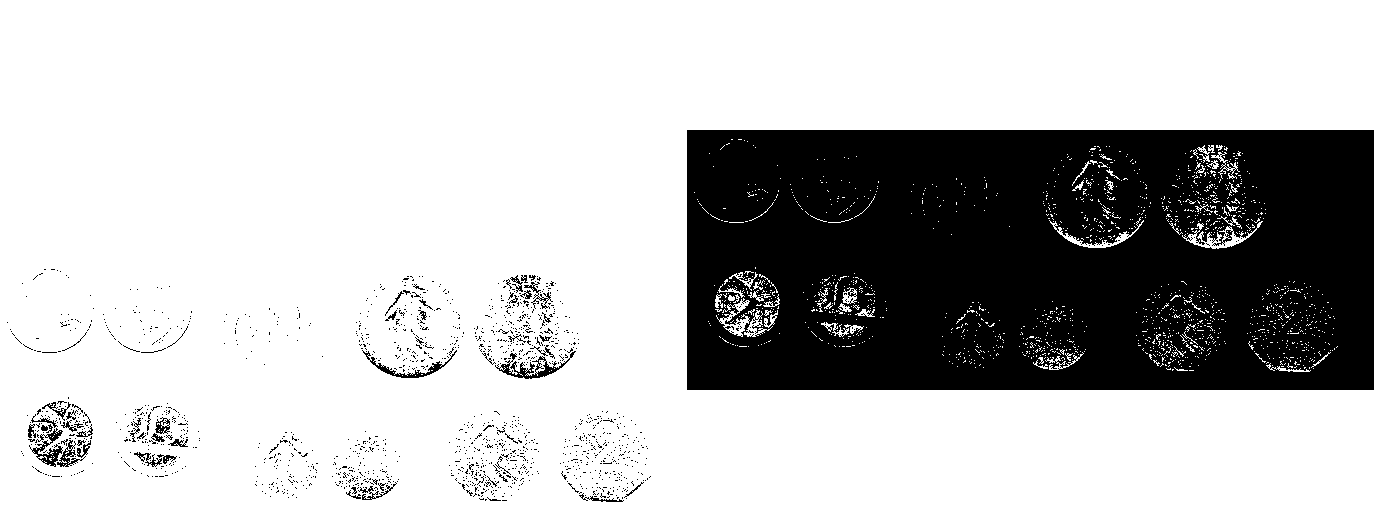
Top left: white image, bottom left: flood fill image, right: I_holes = I_white - I_flood_fill
- add the holes image to the binary image to get an image without holes
Top left: binary image, bottom left: holes image, right: I_fill = I_bin + I_holes
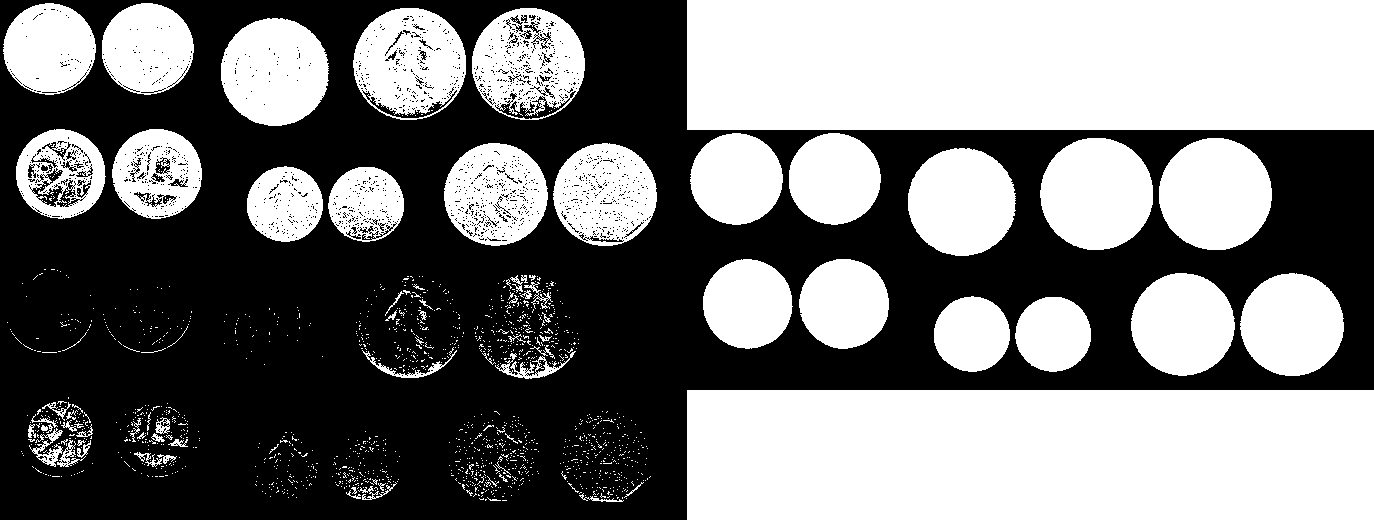
Similarly for the sample image 1, the binary image with holes filled is:

Binary image with holes filled for the sample image 1
To "clean" the binary image, we will now perform some morphological operations:
- an opening (an erosion followed by a dilatation) to remove some potential single foreground pixels
- a closing (a dilatation followed by an erosion) to fill some remaining small holes
The result image for the sample image 1 is (the morphological operations do not improve the binarisation for the sample 2):

Binary image after an opening and a closing
Now that we have properly binarized the images to get only the coins, we can extract the contours. As the function expects a binary image with values 0/1, we need to create a new image accordingly:
for (
unsigned int cpt = 0; cpt < I_close.
getSize(); cpt++)
I_contours.bitmap[cpt] = I_close.
bitmap[cpt] ? 1 : 0;
std::vector<std::vector<vpImagePoint> > contours;
To display the extracted contours, we can use:
To count the number of coins, we use the number of extracted contours. But to be robust to some remaining bad binarized pixels, we will measure the area of the contour (  ) and discard too small area contours. The image moments are used to compute the area of the contour and the centroid (
 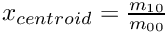 ,
, 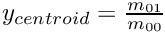 ) of the contour to display some texts:
int nb_coins = 0;
for (size_t i = 0; i < contours.size(); i++) {
std::vector<vpPoint> vec_p;
for (size_t j = 0; j < contours[i].size(); j++) {
pt.
set_x(contours[i][j].get_u());
pt.
set_y(contours[i][j].get_v());
vec_p.push_back(pt);
}
obj.fromVector(vec_p);
if (std::fabs(obj.get(0, 0)) >= I.
getSize() / 200) {
nb_coins++;
std::stringstream ss;
ss << "Coin " << nb_coins;
int centroid_x = (int)std::fabs(obj.get(1, 0) / obj.get(0, 0));
int centroid_y = (int)std::fabs(obj.get(0, 1) / obj.get(0, 0));
}
}
The final result images are:
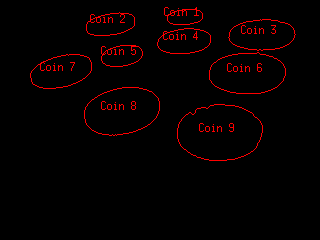
9 coins have been detected for the sample image 1
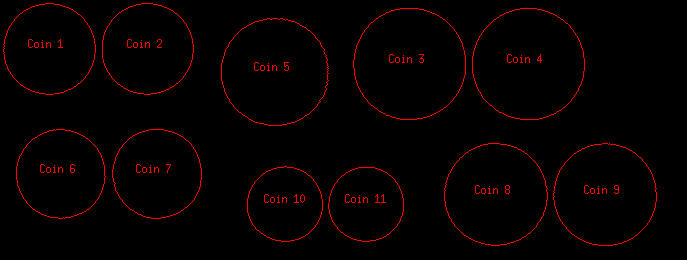
11 coins have been detected for the sample image 2
This tutorial showed you how some basic image processing techniques can be used to create an application to count the number of coins in an image. Some assumptions must be made to guarantee that the image processing pipeline will work:
- the coins are placed on an uniform background with a different color (to be able to automatically threshold the image)
- the coins must be isolated from each other (to be able to extract the contours)
- the image must be clean (to avoid to use too much some morphological operations)
- the size of the coins in the image is more or less defined (to be able to discard contours that are not coins using the contour area)