Visual Servoing Platform  version 3.5.0 under development (2022-02-15)
Tutorial: Image processing on iOS

This tutorial supposes that you have followed the Tutorial: How to create a basic iOS application that uses ViSP.

Introduction

In this tutorial you will learn how to do simple image processing on iOS devices with ViSP. This application loads a color image (monkey.png) and allows the user to visualize either this image in grey level, either the image gradients, or either canny edges on iOS simulator or devices.

In ViSP images are carried out using vpImage class. However in iOS, image rendering has to be done using UIImage class that is part of the Core Graphics framework available in iOS. In this tutorial we provide the functions that allow to convert a vpImage to an UIImage and vice versa.

Note that all the material (source code and image) used in this tutorial is part of ViSP source code and could be downloaded using the following command:

$ svn export https://github.com/lagadic/visp.git/trunk/tutorial/ios/StartedImageProc

StartedImageProc application

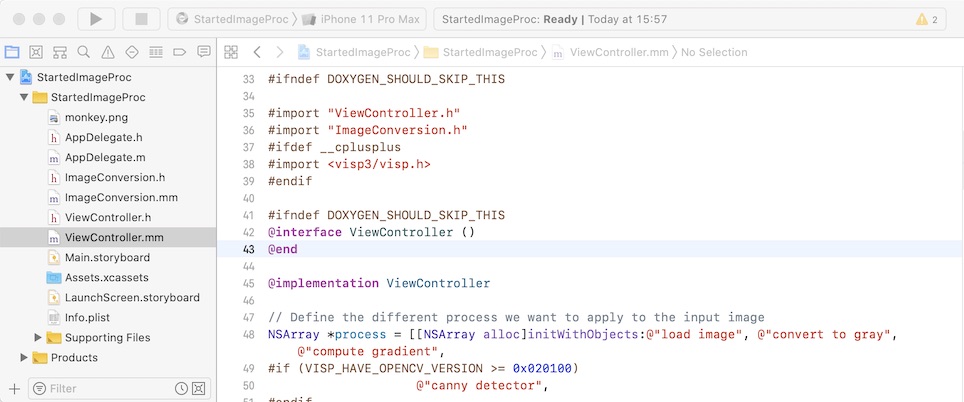
Let us consider the Xcode project named StartedImageProc that is part of ViSP source code and located in $VISP_WS/tutorial/ios/StartedImageProc. This project is a Xcode "Single view application" where we renamed ViewController.m into ViewController.mm, introduced minor modifications in ViewController.h and add monkey.png image.

To open this application, if you followed Tutorial: Installation from prebuilt packages for iOS devices simply run:

$ cd $HOME/framework
$ svn export https://github.com/lagadic/visp.git/trunk/tutorial/ios/StartedImageProc
$ open StartedImageProc -a Xcode

or if you already downloaded ViSP following Tutorial: Installation from source for iOS devices run:

$ open ~/framework/visp/tutorial/ios/StartedImageProc -a Xcode

Here you should see something similar to:

img-started-imgproc-ios.jpg

Once opened, you have just to drag & drop ViSP and OpenCV frameworks available in $HOME/framework/ios if you followed Tutorial: Installation from prebuilt packages for iOS devices.

img-started-imgproc-ios-drag-drop.jpg

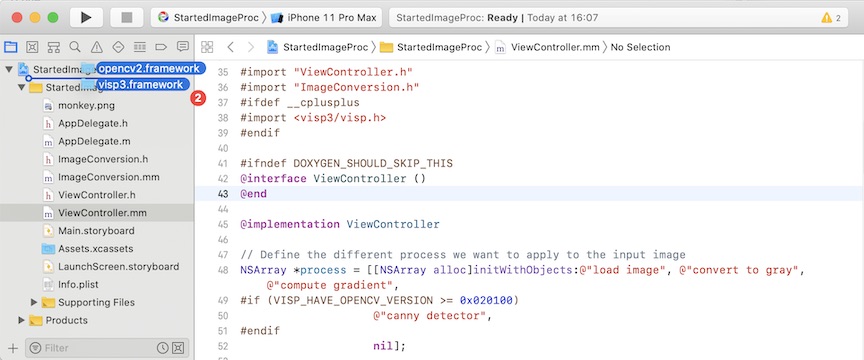
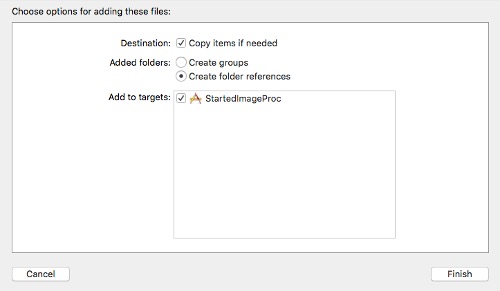
In the dialog box, enable check box "Copy item if needed" to add visp3.framework and opencv2.framework to the project.

img-started-imgproc-ios-drag-drop-dialog.jpg

Now you should be able to build and run your application.

Image conversion functions

The Xcode project StartedImageProc contains ImageConversion.h and ImageConversion.mm files that implement the functions to convert UIImage to ViSP vpImage and vice versa.

UIImage to color vpImage

The following function implemented in ImageConversion.mm show how to convert an UIImage into a vpImage<vpRGBa> instanciated as a color image.

// Converts an UIImage that could be in gray or color into a ViSP color image
+ (vpImage<vpRGBa>)vpImageColorFromUIImage:(UIImage *)image
{
CGColorSpaceRef colorSpace = CGImageGetColorSpace(image.CGImage);
if (CGColorSpaceGetModel(colorSpace) == kCGColorSpaceModelMonochrome) {
NSLog(@"Input UIImage is grayscale");
vpImage<unsigned char> gray(image.size.height, image.size.width); // 8 bits per component, 1 channel
CGContextRef contextRef = CGBitmapContextCreate(gray.bitmap, // pointer to data
image.size.width, // width of bitmap
image.size.height, // height of bitmap
8, // bits per component
image.size.width, // bytes per row
colorSpace, // colorspace
kCGImageAlphaNone |
kCGBitmapByteOrderDefault); // bitmap info flags
CGContextDrawImage(contextRef, CGRectMake(0, 0, image.size.width, image.size.height), image.CGImage);
CGContextRelease(contextRef);
return color;
}
else {
NSLog(@"Input UIImage is color");
vpImage<vpRGBa> color(image.size.height, image.size.width); // 8 bits per component, 4 channels
colorSpace = CGColorSpaceCreateDeviceRGB();
CGContextRef contextRef = CGBitmapContextCreate(color.bitmap, // pointer to data
image.size.width, // width of bitmap
image.size.height, // height of bitmap
8, // bits per component
4 * image.size.width, // bytes per row
colorSpace, // colorspace
kCGImageAlphaNoneSkipLast |
kCGBitmapByteOrderDefault); // bitmap info flags
CGContextDrawImage(contextRef, CGRectMake(0, 0, image.size.width, image.size.height), image.CGImage);
CGContextRelease(contextRef);
return color;
}
}

UIImage to gray vpImage

The following function implemented in ImageConversion.mm show how to convert an UIImage into a vpImage<unsigned char> instanciated as a grey level image.

// Converts an UIImage that could be in gray or color into a ViSP gray image
+ (vpImage<unsigned char>)vpImageGrayFromUIImage:(UIImage *)image
{
CGColorSpaceRef colorSpace = CGImageGetColorSpace(image.CGImage);
if (CGColorSpaceGetModel(colorSpace) == kCGColorSpaceModelMonochrome) {
NSLog(@"Input UIImage is grayscale");
vpImage<unsigned char> gray(image.size.height, image.size.width); // 8 bits per component, 1 channel
CGContextRef contextRef = CGBitmapContextCreate(gray.bitmap, // pointer to data
image.size.width, // width of bitmap
image.size.height, // height of bitmap
8, // bits per component
image.size.width, // bytes per row
colorSpace, // colorspace
kCGImageAlphaNone |
kCGBitmapByteOrderDefault); // bitmap info flags
CGContextDrawImage(contextRef, CGRectMake(0, 0, image.size.width, image.size.height), image.CGImage);
CGContextRelease(contextRef);
return gray;
} else {
NSLog(@"Input UIImage is color");
vpImage<vpRGBa> color(image.size.height, image.size.width); // 8 bits per component, 4 channels (color channels + alpha)
colorSpace = CGColorSpaceCreateDeviceRGB();
CGContextRef contextRef = CGBitmapContextCreate(color.bitmap, // pointer to data
image.size.width, // width of bitmap
image.size.height, // height of bitmap
8, // bits per component
4 * image.size.width, // bytes per row
colorSpace, // colorspace
kCGImageAlphaNoneSkipLast |
kCGBitmapByteOrderDefault); // bitmap info flags
CGContextDrawImage(contextRef, CGRectMake(0, 0, image.size.width, image.size.height), image.CGImage);
CGContextRelease(contextRef);
return gray;
}
}

Color vpImage to UIImage

The following function implemented in ImageConversion.mm show how to convert a gray level vpImage<unsigned char> into an UIImage.

// Converts a color ViSP image into a color UIImage
+ (UIImage *)UIImageFromVpImageColor:(const vpImage<vpRGBa> &)I
{
NSData *data = [NSData dataWithBytes:I.bitmap length:I.getSize()*4];
CGColorSpaceRef colorSpace;
colorSpace = CGColorSpaceCreateDeviceRGB();
CGDataProviderRef provider = CGDataProviderCreateWithCFData((__bridge CFDataRef)data);
// Creating CGImage from vpImage
CGImageRef imageRef = CGImageCreate(I.getWidth(), // width
I.getHeight(), // height
8, // bits per component
8 * 4, // bits per pixel
4 * I.getWidth(), // bytesPerRow
colorSpace, // colorspace
kCGImageAlphaNone|kCGBitmapByteOrderDefault,// bitmap info
provider, // CGDataProviderRef
NULL, // decode
false, // should interpolate
kCGRenderingIntentDefault // intent
);
// Getting UIImage from CGImage
UIImage *finalImage = [UIImage imageWithCGImage:imageRef];
CGImageRelease(imageRef);
CGDataProviderRelease(provider);
CGColorSpaceRelease(colorSpace);
return finalImage;
}

Gray vpImage to UIImage

The following function implemented in ImageConversion.mm show how to convert a color vpImage<vpRGBa> into an UIImage.

// Converts a gray level ViSP image into a gray level UIImage
+ (UIImage *)UIImageFromVpImageGray:(const vpImage<unsigned char> &)I
{
NSData *data = [NSData dataWithBytes:I.bitmap length:I.getSize()];
CGColorSpaceRef colorSpace;
colorSpace = CGColorSpaceCreateDeviceGray();
CGDataProviderRef provider = CGDataProviderCreateWithCFData((__bridge CFDataRef)data);
// Creating CGImage from vpImage
CGImageRef imageRef = CGImageCreate(I.getWidth(), // width
I.getHeight(), // height
8, // bits per component
8, // bits per pixel
I.getWidth(), // bytesPerRow
colorSpace, // colorspace
kCGImageAlphaNone|kCGBitmapByteOrderDefault,// bitmap info
provider, // CGDataProviderRef
NULL, // decode
false, // should interpolate
kCGRenderingIntentDefault // intent
);
// Getting UIImage from CGImage
UIImage *finalImage = [UIImage imageWithCGImage:imageRef];
CGImageRelease(imageRef);
CGDataProviderRelease(provider);
CGColorSpaceRelease(colorSpace);
return finalImage;
}

Application output

  • Now we are ready to build "StartedImageProc" application using Xcode "Product > Build" menu.
    Note
    Here it may be possible that you get a build issue iOS error: libxml/parser.h not found. Just follow the link to see how to fix this issue.
  • Once build, if you run StartedImageProc application on your device, you should be able to see the following screen shots.
  • Pressing "load image" button gives the following result:
    img-started-imgproc-ios-output-color.jpg
  • Pressing 
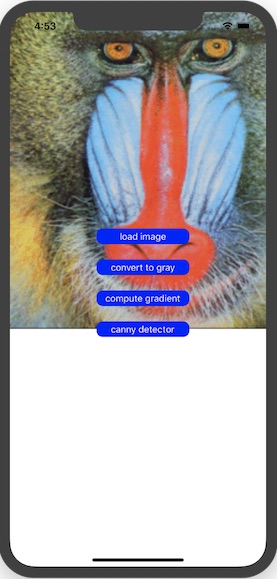
"convert to gray" button gives the following result:
    img-started-imgproc-ios-output-gray.jpg
  • Pressing 
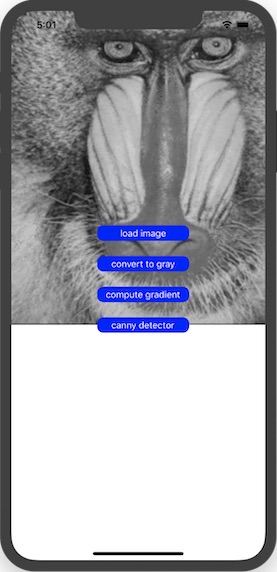
"compute gradient" button gives the following result:
    img-started-imgproc-ios-output-gradient.jpg
  • Pressing 
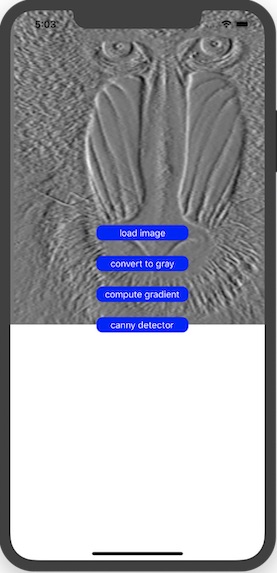
"canny detector" button gives the following result:
    img-started-imgproc-ios-output-canny.jpg

Known issues

iOS error: libxml/parser.h not found

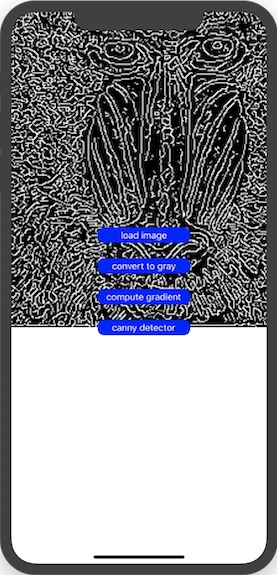
Follow iOS error: libxml/parser.h not found link if you get this issue.

Next tutorial

You are now ready to see the Tutorial: AprilTag marker detection on iOS.