 |
Visual Servoing Platform
version 3.3.0 under development (2020-02-17)
|
 |
Visual Servoing Platform
version 3.3.0 under development (2020-02-17)
|
We assume that you have already followed the previous tutorial Tutorial: Installing ViSP for Java.
This tutorial will guide you through the creation of a simple Java console application using ViSP library in Eclipse.
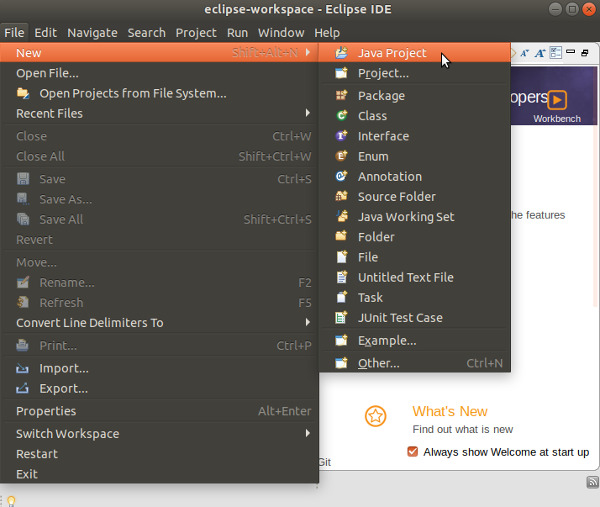
Open Eclipse and create a new Java project entering "File > New > Java Project" menu.
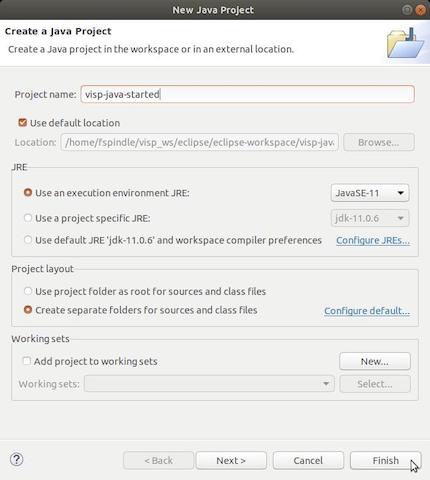
In the "New Java Project" dialog write the name of your project (let say visp-java-started). In JRE section, select the appropriate execution environment (JavaSE-11 if you install JDK 11, or JavaSE-13 if you install JDK 13). Then press "Finish" button.
In the "New module-info.java" dialog that may appear, press "Don't Create" button.

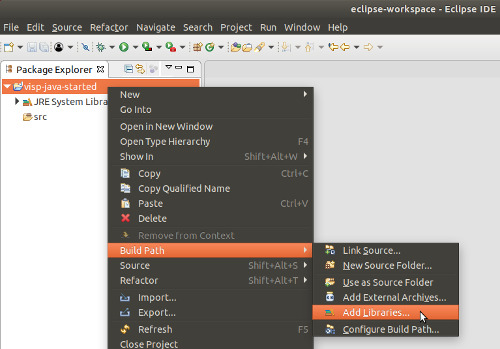
If you followed Tutorial: Installing ViSP for Java, you should already have ViSP library set in your workspace’s user libraries; if not please check out Tutorial: Installing ViSP for Java. Now you should be ready to add ViSP library to your project. Inside Eclipse’s Package Explorer just right-click on your project’s folder and go to "Build Path > Add Libraries...".
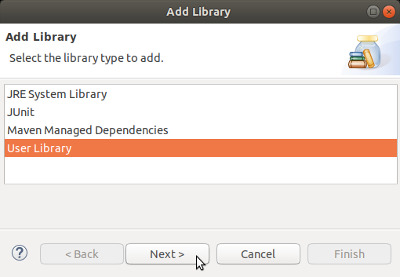
Select "User Library" and click on "Next":
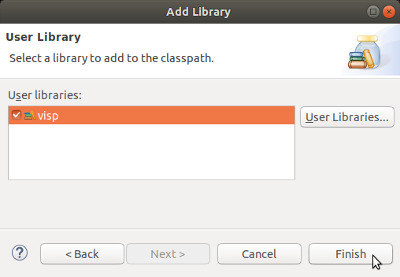
Check the checkbox of the ViSP library and press "Finish" button.
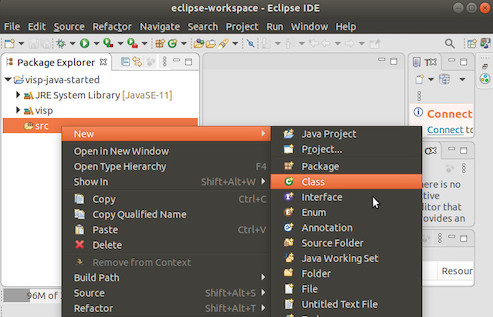
Now add a new class to your project by right-clicking on your project’s folder and entering "New > Class" menu.
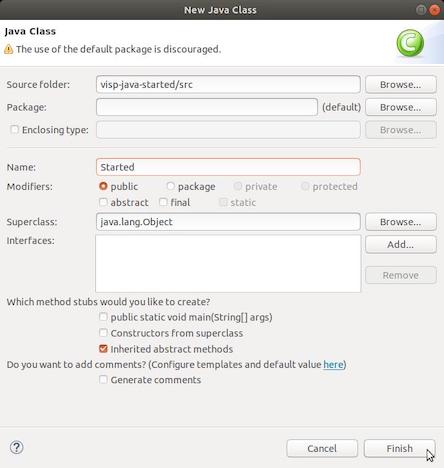
Write a class name like Started and press "Finish" button.
Now we are ready to write the code of our first application. Let’s start by importing the main classes part of core module (vpCameraParameters, vpColVector, vpImage, vpMatrix, vpRGBa). Then we load visp_java library. After we continue defining the main() method that shows how to manipulate ViSP classes in Java.
The code of the Started class also given in Started.java is the following:
After a copy/paste you should have something similar to:
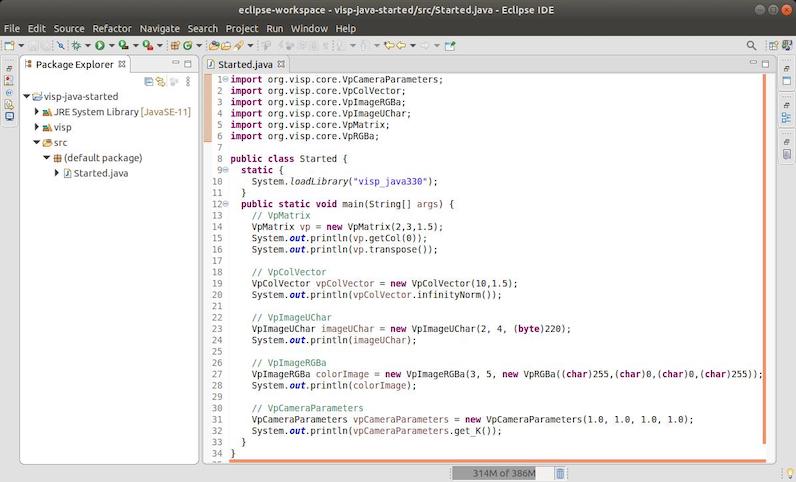
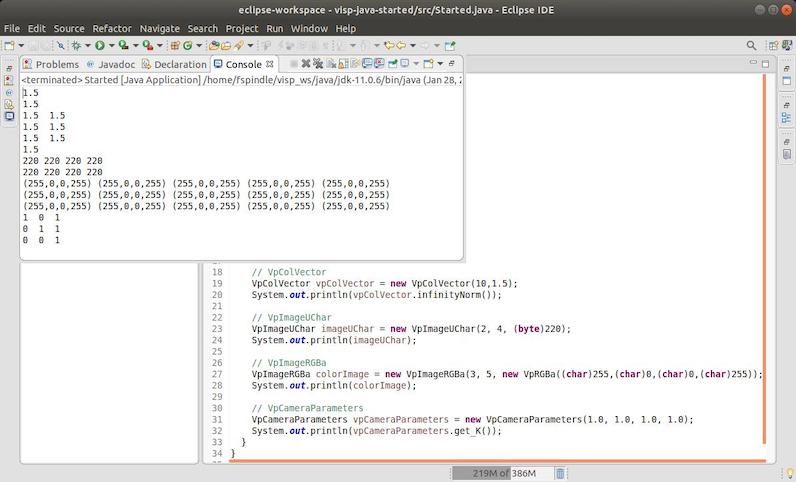
We can now try to build and run this application entering"Run > Run" menu. You should have the following output:
As shown in the next image, if you get the following issue on Ubuntu 18.04:
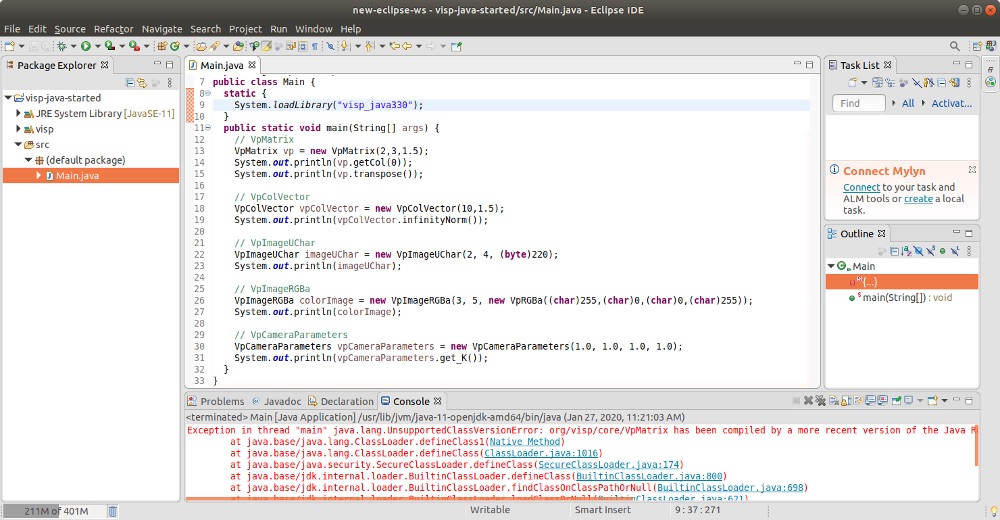
it means probably that you use JRE System Library 11 installed in /usr/lib/jvm/java-1.11.0-openjdk-amd64 while ViSP is build with a more recent java version obtained after downloading JDK 13 for example.
To fix this issue, as explained in Tutorial: Installing ViSP for Java install JDK 11 and do a fresh ViSP build using java 11.
As shown in the next image, if you experience the following exception after entering "Run > Run" menu:
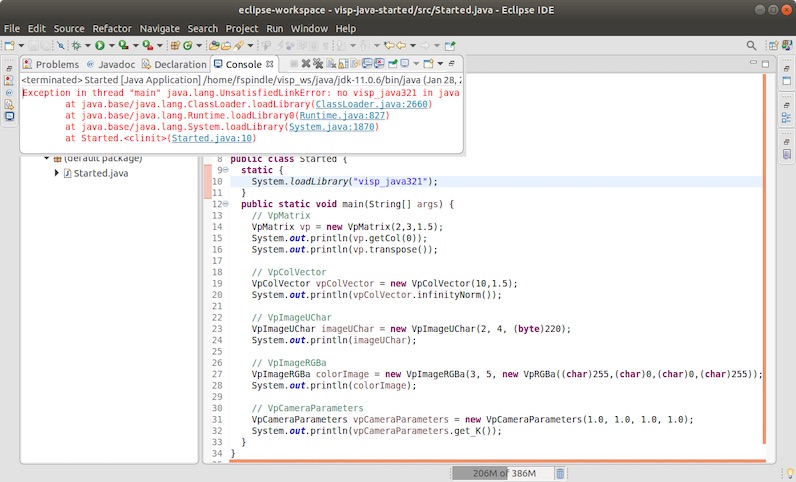
visp-<version>.jar is present in $VISP_DIR/visp-build/bin: $VISP_DIR/visp-build/bin You are now ready to continue with Tutorial: AprilTag detection in java with ViSP.