|
Visual Servoing Platform
version 3.3.0 under development (2020-02-17)
|
|
Visual Servoing Platform
version 3.3.0 under development (2020-02-17)
|
We assume that you have already followed the previous tutorial Tutorial: First java application with ViSP. It could be also useful to follow Tutorial: Markerless generic model-based tracking using a color camera to get an overview on model-based tracking in ViSP.
In this tutorial, you will see how to develop an application that allows to load a sequence of images and run model-based tracking in java using ViSP library in Eclipse.
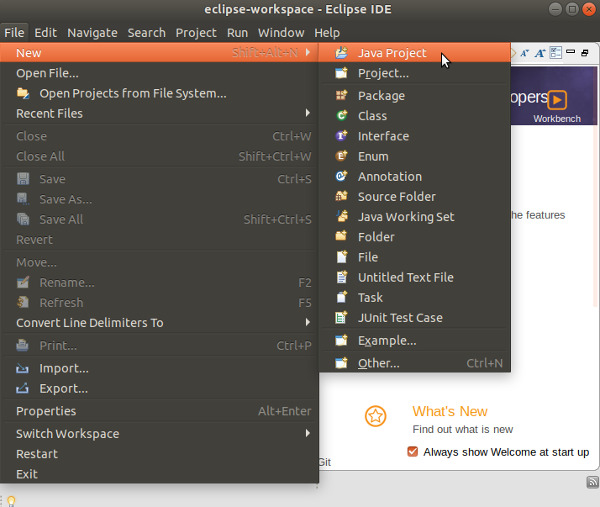
Open Eclipse and create a new Java project entering "File > New > Java Project" menu.
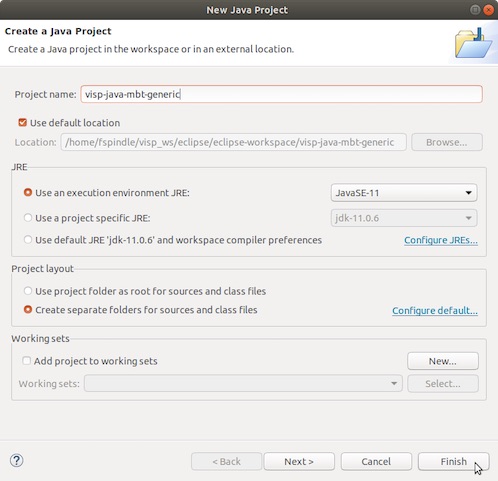
In the "New Java Project" dialog write the name of your project (let say visp-java-mbt-generic). In JRE section, select the appropriate execution environment (JavaSE-11 if you install JDK 11, or JavaSE-13 if you install JDK 13). Then press "Finish" button.
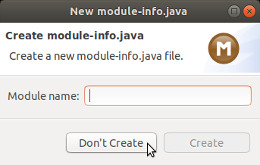
In the "New module-info.java" dialog that may appear, press "Don't Create" button.
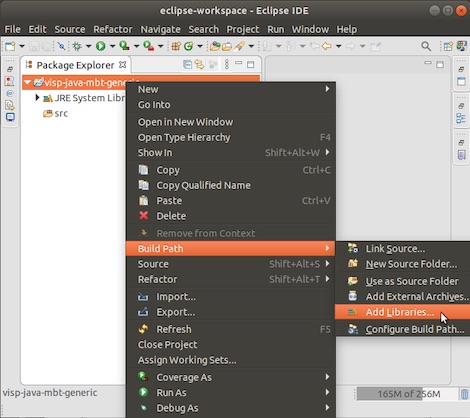
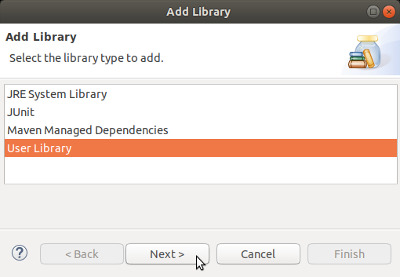
If you followed Tutorial: Installing ViSP for Java, you should already have ViSP library set in your workspace’s user libraries; if not please check out Tutorial: Installing ViSP for Java. Now you should be ready to add ViSP library to your project. Inside Eclipse’s Package Explorer just right-click on your project’s folder and go to "Build Path > Add Libraries...".
Select "User Library" and click on "Next":
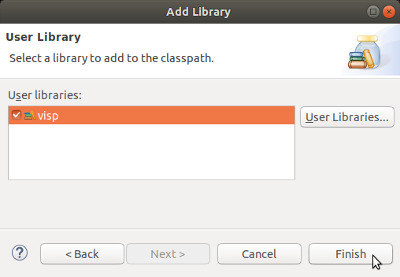
Check the checkbox of the ViSP library and press "Finish" button.
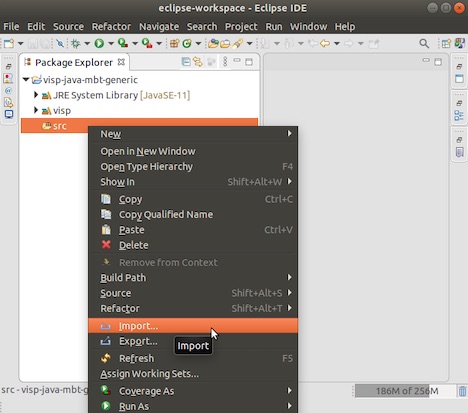
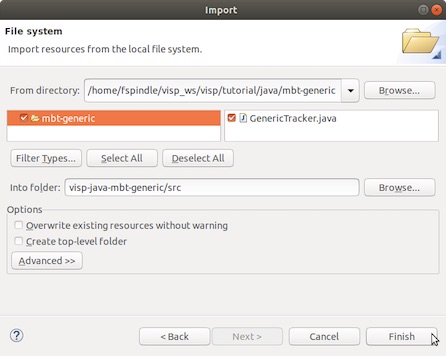
Now import AprilTagDetection.java file in your project, pointing your mouse on src folder and with a right click entering "Import" menu.
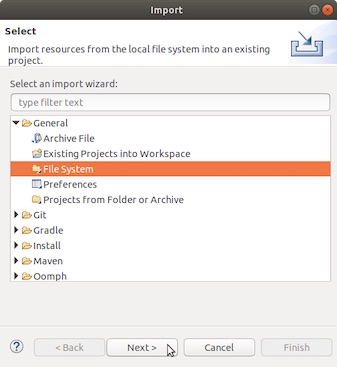
Select "General > File System" and press Next button.
Browse to $VISP_WS/visp/tutorial/java/mbt-generic folder, enable mbt-generic check box and press Finish button.
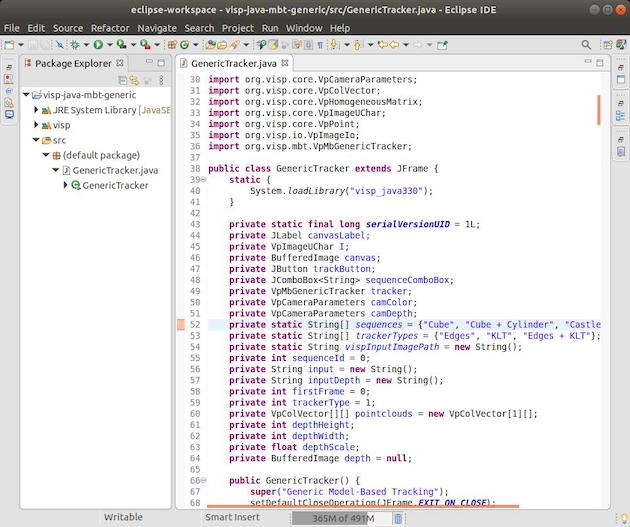
Now expanding what's behind src you should see something similar to:
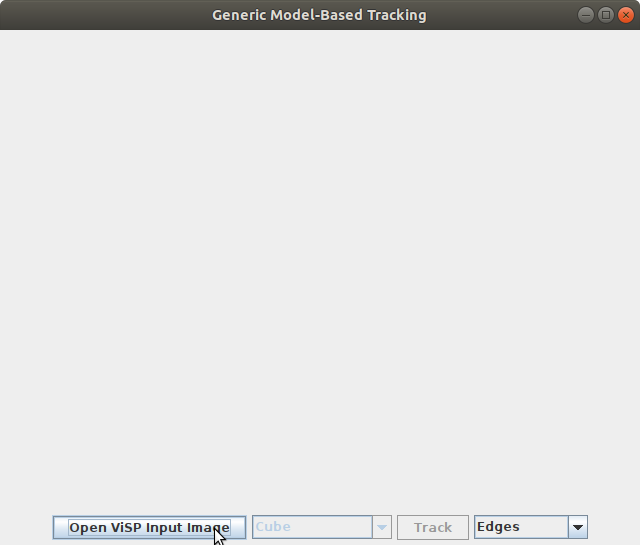
We can now run this application entering"Run > Run" menu. Here you should see the application appearing:
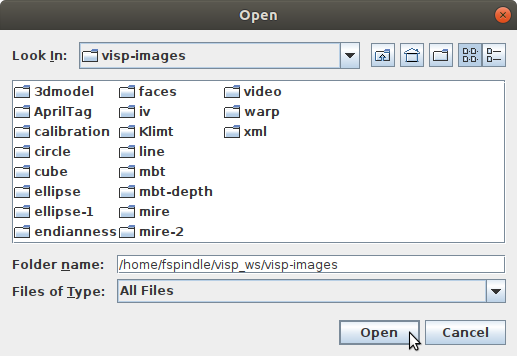
Install ViSP data set, press "Open ViSP Input Image" button, browse to select $ViSP_WS/visp-images folder that contains ViSP dataset, and press "open" button as shown in the next image.
Now press "Track" button to run the tracker on a sequence that is part of ViSP dataset.
This application allows to select features (edges alone, keypoints alone, or edges and keypoints together in the same scheme) that are used by the tracker. Just try it...
 1.8.13