Introduction
The Munkres algorithm described here aims to find an optimal solution which minimizes the total cost of the assignments.
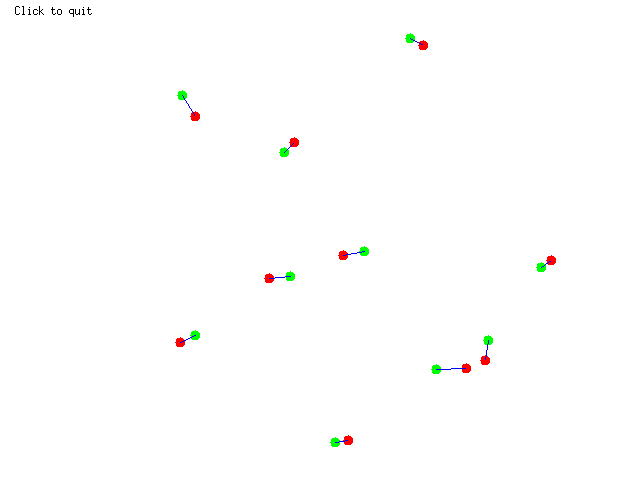
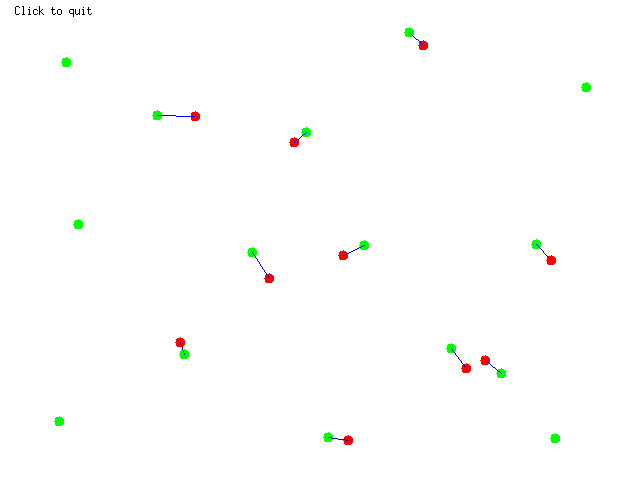
For example, it can be used to match tracked (red) and detected (green) image points:
- Note
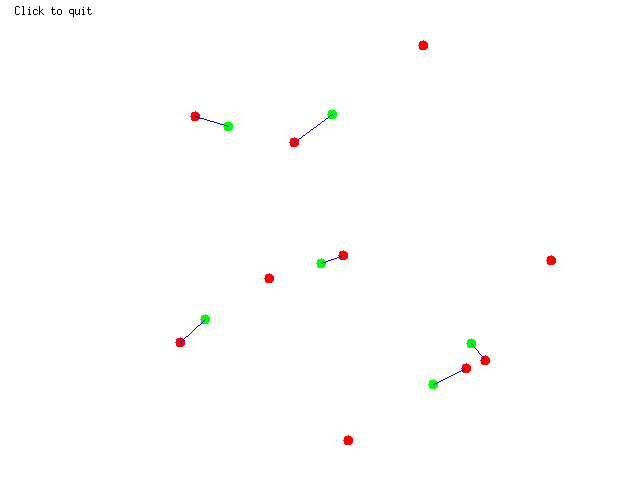
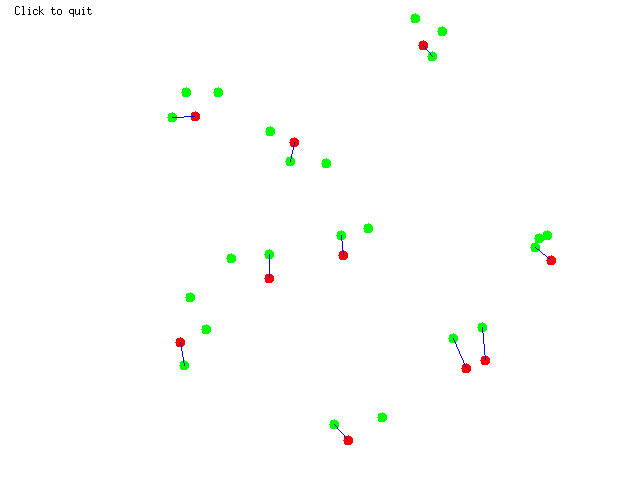
- It can also work with less (or more) detection than tracked points:
- Warning
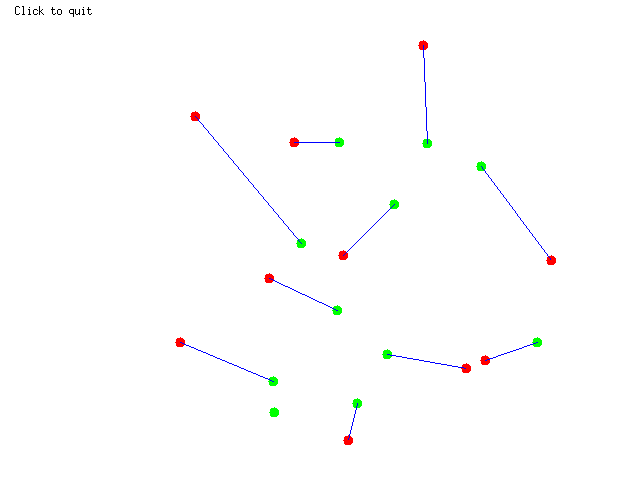
- Keep in mind that Munkres minimizes the total cost of the assignments. As shown by the image below, minimizing the total cost can leads to, locally, not consider the closest points:
Assignment
The following example also available in tutorial-munkres-assignment.cpp shows how to use Munkres algorithm:
#include <visp3/gui/vpDisplayD3D.h>
#include <visp3/gui/vpDisplayGDI.h>
#include <visp3/gui/vpDisplayGTK.h>
#include <visp3/gui/vpDisplayOpenCV.h>
#include <visp3/gui/vpDisplayX.h>
#include <visp3/core/vpColor.h>
#include <visp3/core/vpMunkres.h>
#include <visp3/core/vpUniRand.h>
int main()
{
#if (VISP_CXX_STANDARD >= VISP_CXX_STANDARD_17) && \
(!defined(_MSC_VER) || ( (VISP_CXX_STANDARD >= VISP_CXX_STANDARD_17) && (_MSC_VER >= 1911) ) )
#if defined(VISP_HAVE_DISPLAY)
std::vector<vpImagePoint> rand_ips{};
while (rand_ips.size() < 10) {
rand_ips.emplace_back(rand.uniform(10, I.
getHeight() - 10), rand.uniform(10, I.
getWidth() - 10));
}
try {
#if defined(VISP_HAVE_X11)
#elif defined(VISP_HAVE_GDI)
#elif defined(VISP_HAVE_OPENCV)
#elif defined(VISP_HAVE_GTK)
#elif defined(VISP_HAVE_D3D9)
#else
std::cout << "No image viewer is available..." << std::endl;
#endif
};
auto disp_lane{0};
std::for_each(begin(rand_ips), end(rand_ips), std::bind(display_point, std::placeholders::_1,
vpColor::red));
std::vector<vpImagePoint> user_ips{};
user_ips.push_back(ip);
return EXIT_SUCCESS;
}
std::for_each(begin(user_ips), end(user_ips), std::bind(display_point, std::placeholders::_1,
vpColor::green));
}
std::vector<std::vector<double> > cost_matrix(rand_ips.size(), std::vector<double>(user_ips.size()));
for (auto i = 0u; i < rand_ips.size(); i++) {
for (auto j = 0u; j < user_ips.size(); j++) {
}
}
std::for_each(begin(rand_ips), end(rand_ips), std::bind(display_point, std::placeholders::_1,
vpColor::red));
std::for_each(begin(user_ips), end(user_ips), std::bind(display_point, std::placeholders::_1,
vpColor::green));
}
std::cout << "Catch an exception: " << e << std::endl;
}
#endif // defined(VISP_HAVE_DISPLAY)
#endif
return EXIT_SUCCESS;
}
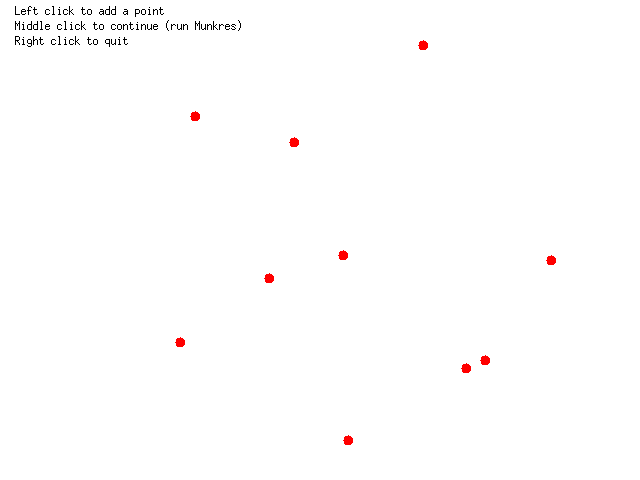
The tutorial starts with 10 random image points (red) which represent our tracked points:
std::vector<vpImagePoint> rand_ips{};
while (rand_ips.size() < 10) {
rand_ips.emplace_back(rand.uniform(10, I.
getHeight() - 10), rand.uniform(10, I.
getWidth() - 10));
}
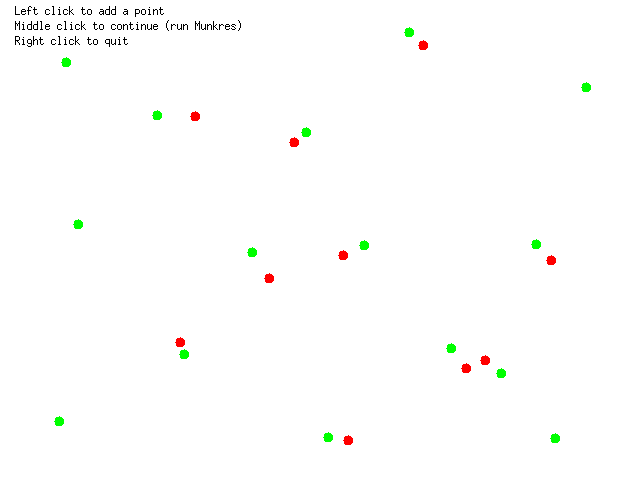
Then, by clicking on the image, the user is able to simulate the detected points (green):
std::vector<vpImagePoint> user_ips{};
user_ips.push_back(ip);
return EXIT_SUCCESS;
}
std::for_each(begin(user_ips), end(user_ips), std::bind(display_point, std::placeholders::_1,
vpColor::green));
}
Once the "fake" detection are selected, a cost matrix is built by defining the cost of assigning a track to a detection point as the Euclidean distance between them:
std::vector<std::vector<double> > cost_matrix(rand_ips.size(), std::vector<double>(user_ips.size()));
for (auto i = 0u; i < rand_ips.size(); i++) {
for (auto j = 0u; j < user_ips.size(); j++) {
}
}
Finally, Munkres is ran to assign tracked points with the detected points (blue lines):


