Introduction
This tutorial will show you how to perform a connected-components labeling.
Example code
The corresponding code is available in tutorial-connected-components.cpp:
#include <cstdlib>
#include <iostream>
#include <visp3/core/vpImage.h>
#include <visp3/gui/vpDisplayGDI.h>
#include <visp3/gui/vpDisplayOpenCV.h>
#include <visp3/gui/vpDisplayX.h>
#include <visp3/io/vpImageIo.h>
#if defined(VISP_HAVE_MODULE_IMGPROC)
#include <visp3/imgproc/vpImgproc.h>
#endif
int main(int argc, const char **argv)
{
#if defined(VISP_HAVE_MODULE_IMGPROC) && (defined(VISP_HAVE_X11) || defined(VISP_HAVE_GDI) || defined(VISP_HAVE_OPENCV))
std::string input_filename = "img.pgm";
for (int i = 1; i < argc; i++) {
if (std::string(argv[i]) == "--input" && i + 1 < argc) {
input_filename = std::string(argv[i + 1]);
} else if (std::string(argv[i]) == "--connexity" && i + 1 < argc) {
} else if (std::string(argv[i]) == "--help" || std::string(argv[i]) == "-h") {
std::cout << "Usage: " << argv[0]
<< " [--input <input image>] [--connexity <0: 4-connexity, "
"1: 8-connexity>] [--help]"
<< std::endl;
return EXIT_SUCCESS;
}
}
#ifdef VISP_HAVE_X11
#elif defined(VISP_HAVE_GDI)
#elif defined(VISP_HAVE_OPENCV)
#endif
d.
init(I, 0, 0,
"Input image");
int nbComponents = 0;
std::cout << "nbComponents=" << nbComponents << std::endl;
for (unsigned int i = 0; i < I_conn.getHeight(); i++) {
for (unsigned int j = 0; j < I_conn.getWidth(); j++) {
if (labels[i][j] != 0) {
I_conn[i][j] =
}
}
}
return EXIT_SUCCESS;
#else
(void)argc;
(void)argv;
return 0;
#endif
}
The function is provided in a vp:: namespace and accessible using this include:
#include <visp3/imgproc/vpImgproc.h>
The first step is to read an image:

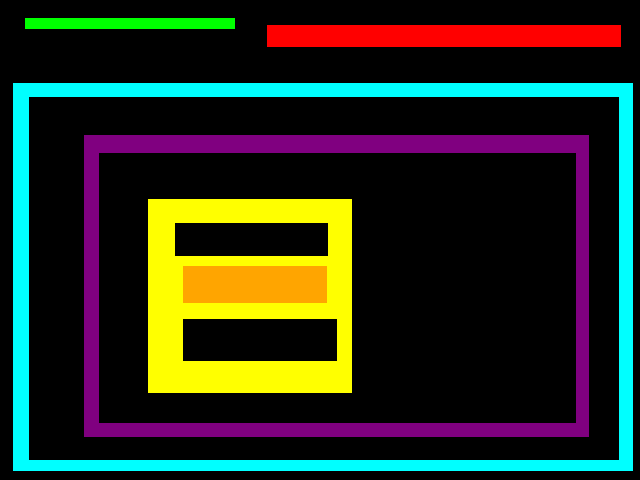
Input image
The connected-components labeling can be done with:
int nbComponents = 0;
std::cout << "nbComponents=" << nbComponents << std::endl;
Each pixel other than the background (0 pixel value in the original image) is assigned a label stored in vpImage<int> variable. The number of connected-components is returned in nbComponents variable. The connexity can be 4-connexity or 8-connexity.
To visualize the labeling, we can use these lines of code:
for (unsigned int i = 0; i < I_conn.getHeight(); i++) {
for (unsigned int j = 0; j < I_conn.getWidth(); j++) {
if (labels[i][j] != 0) {
I_conn[i][j] =
}
}
}
Each label is assigned a specific color. The result image is:

Connected-components labeling
- Note
- As you can see, the input image does not need to be a binary image but must be a grayscale image.
Next tutorial
You can now read the Tutorial: Flood fill algorithm, to learn how to do a flood fill.


