 |
Visual Servoing Platform
version 3.1.0
|
 |
Visual Servoing Platform
version 3.1.0
|
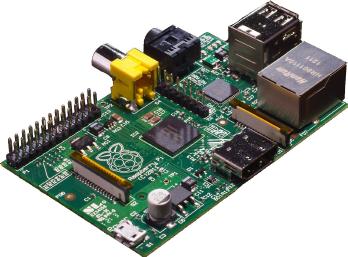
In this tutorial you will learn how to install ViSP from source on Raspberry Pi 1 or Pi 2 equipped with an optional HD camera module.

In a first section we give some useful instructions to start with a Raspberry PI. Then in the second section, we focus on the installation of ViSP from source.
pi with the password raspberry./etc/modules file startx and press Enter on your keyboard. This will later allow to use ViSP vpDisplayX or vpDisplayOpenCV classes useful to display images in a X11 window.ViSP is interfaced with several optional 3rd party libraries. The complete list is provided here. We recommend to install the following:
We give also the way to install other 3rd party libraries to enable specific capabilities.
$HOME/visp-ws that will contain ViSP source, build and dataset. There are different ways to get ViSP source code on Raspberry Pi:
We suppose now that ViSP source is in the directory $VISP_WS/visp. The following should be adapted if you downloaded ViSP from a zip or tarball. In that case, the source is rather in something like $VISP_WS/visp-x.y.z.
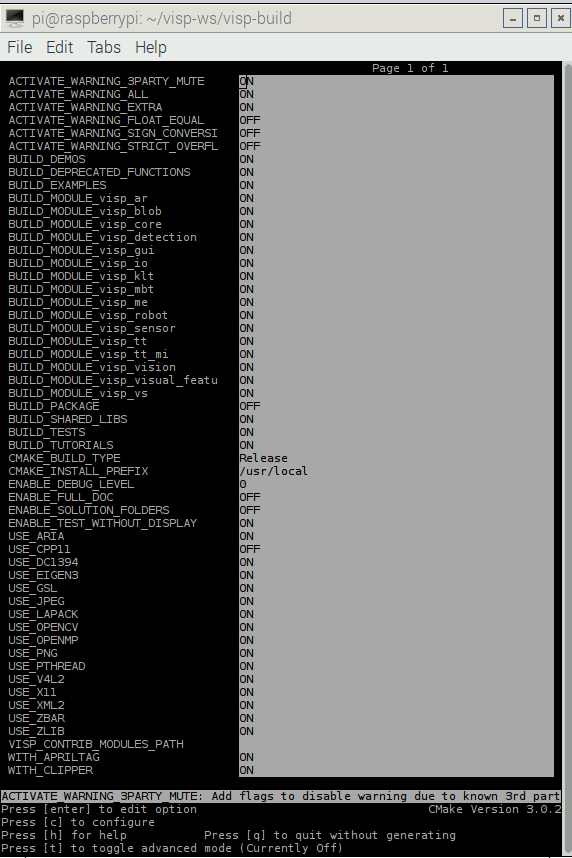
visp-build that will contain all the build material; generated Makefiles, object files, output libraries and binaries. visp-build folder and configure the build: ccmake, the CMake GUI: 
/usr/local. This location could be changed modifying CMAKE_INSTALL_PREFIX var: $VISP_WS/visp-build/doc/html/index.html ENABLE_FULL_DOC to ON like: ViSP-images-x.y.z.zip. This archive could be downloaded from http://visp.inria.fr/download page. We provide here after the way to install these data if you want to run ViSP examples. $VISP_WS/ViSP-images-3.1.0. VISP_INPUT_IMAGE_PATH environment variable to help ViSP examples and tests to find the location of the data set. It is more convenient if this environment variables is automatically added to your bash session every time a new shell is launched: displayX example that should open a windows with Klimt painting image and some overlay drawings: make: ViSP-third-party.txt and located in $VISP_WS/visp-build. We provide hereafter an example of a possible content of this file that contains also build info. You are now ready to see the next Tutorial: How to create and build a CMake project that uses ViSP on Unix or Windows that will show you how to use ViSP as a 3rd party to build your own project on Raspberry Pi or on any other system. Then if you have a Raspberry Pi camera module, you can also follow the Tutorial: Blob tracking especially subsection Tracking form v4l2 live cameras.
You may also be interested in Tutorial: Cross-compilation for Raspberry Pi from Ubuntu host if you want to speed up the build process or deploy ViSP on other Rapberry boards.