|
Visual Servoing Platform
version 3.6.1 under development (2024-04-25)
|
|
Visual Servoing Platform
version 3.6.1 under development (2024-04-25)
|
In this tutorial you will learn how to import a CMake project that uses ViSP into Eclipse IDE.
This tutorial uses CMake to build projects. If you are not familiar with CMake, you can check the tutorial.
1) You need to download Eclipse IDE archive.
2) Extract Eclipse from archive
3) Create a CMake project or take the project from Tutorial: How to create and build a project that uses ViSP and CMake on Unix or Windows which is used in this tutorial
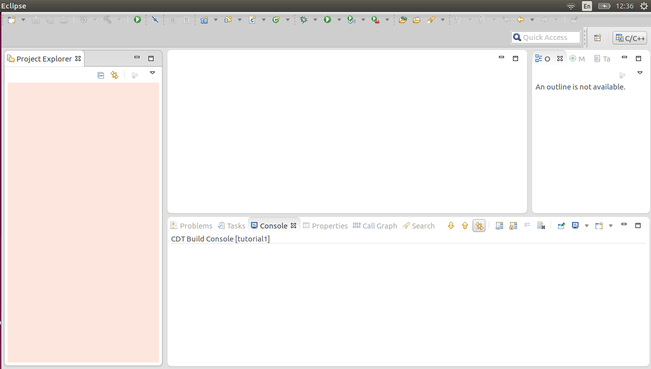
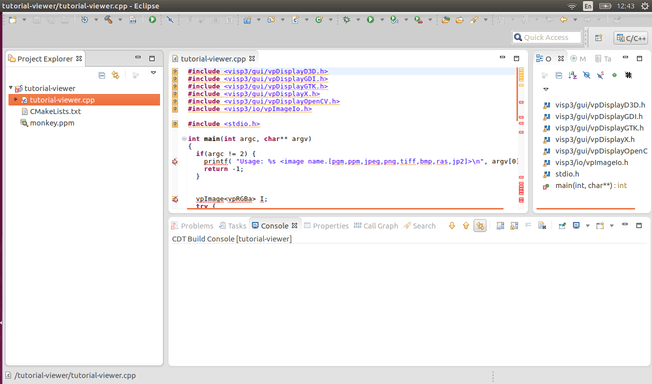
4) Open Eclipse
5) File > New > Makefile Project with Existing Code
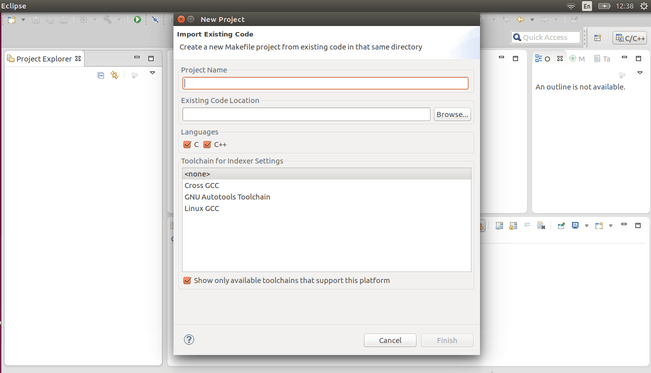
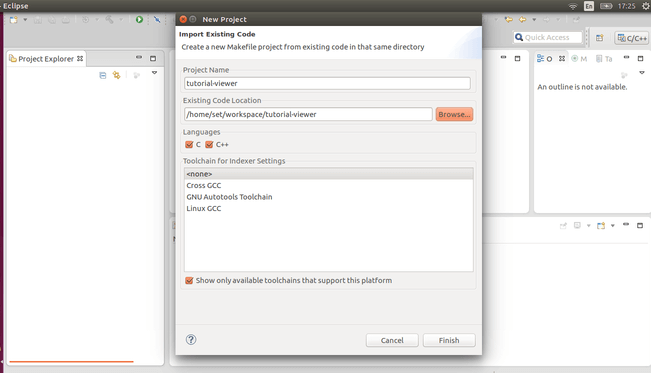
6) Browse > Select directory to the CMake project > Press "Finish"
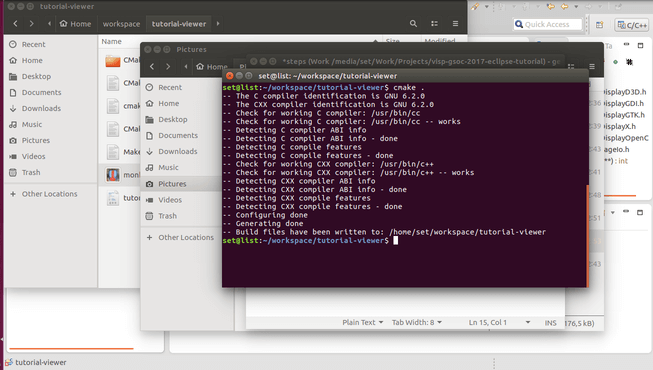
7) Goto to the Project directory and execute "cmake . " in console in order to Configure your project
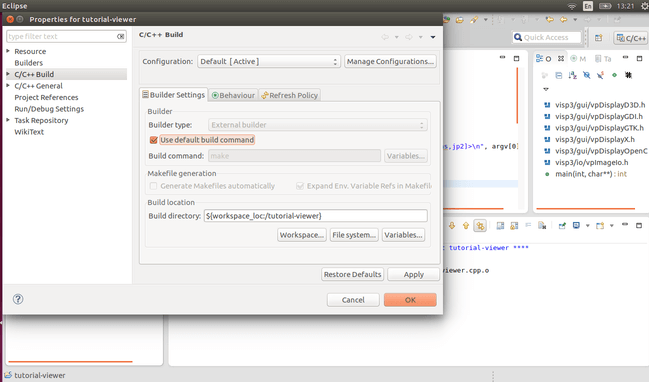
8) Right click on Project > Press "Properties" > C/C++ Build > Builder Settings
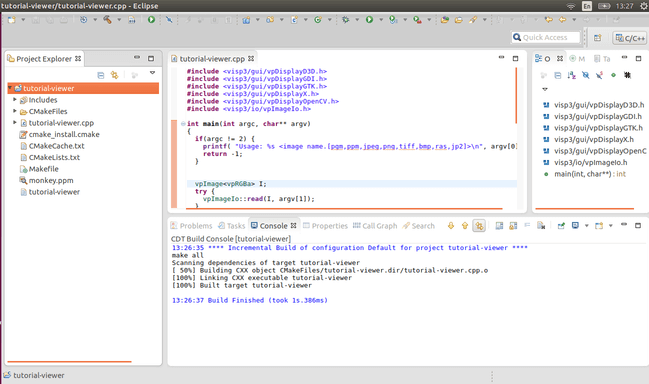
9) Project > Build all
10) Right click on Project > Run As > Run Configurations > C/C++ Application > "Project" Default
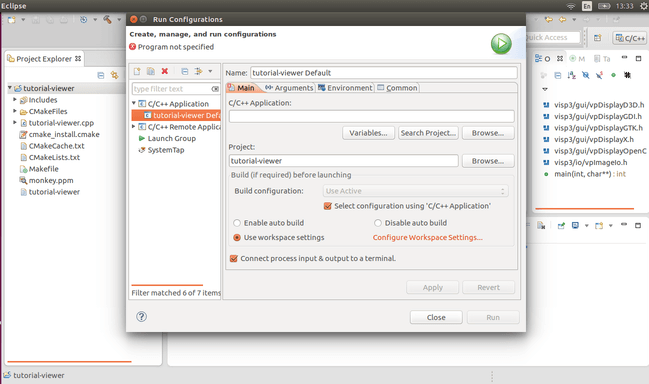
11) C/C++ Application > Browse > Browse path to the executable file of your project > Apply
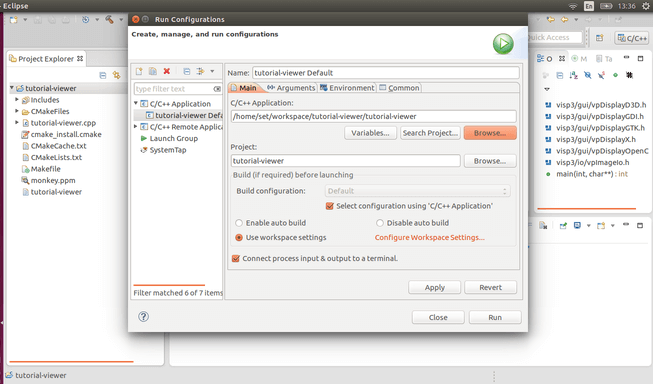
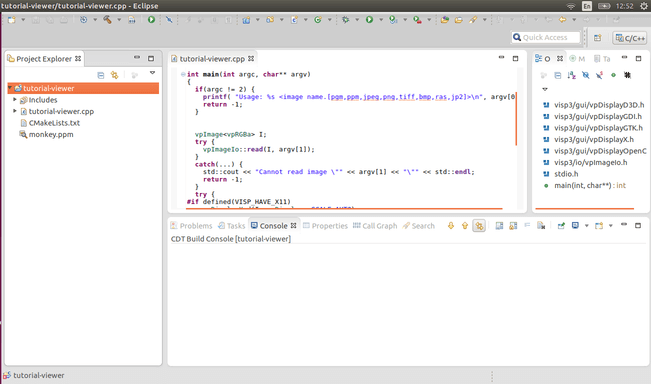
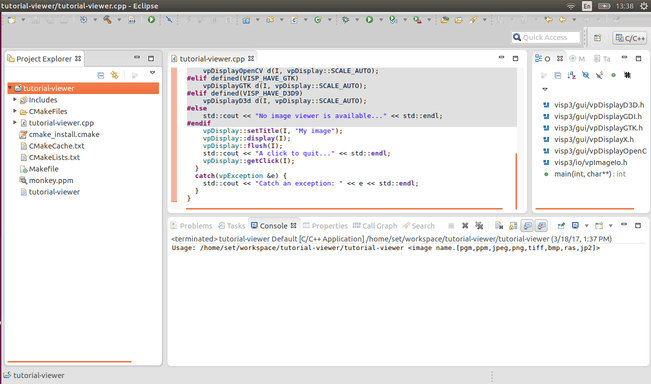
12) Now run the Project from Eclipse as usual
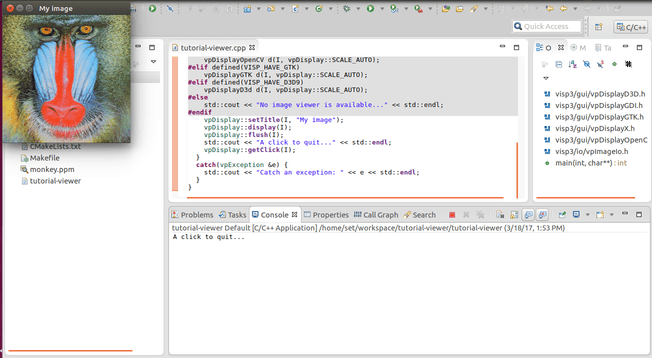
1) If you see issues such as "Unresolved inclusion" You need to perform next steps to solve it
2) Right click on Project > Press "Properties"
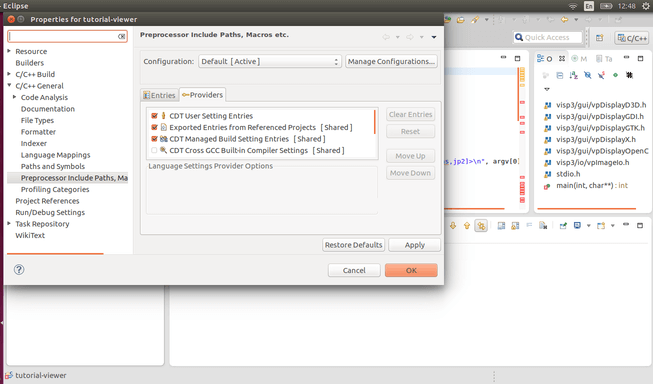
3) C/C++ General > Preprocessor Include Path etc. > Providers > Enable "CDT GCC Built-in Compiler Settings"
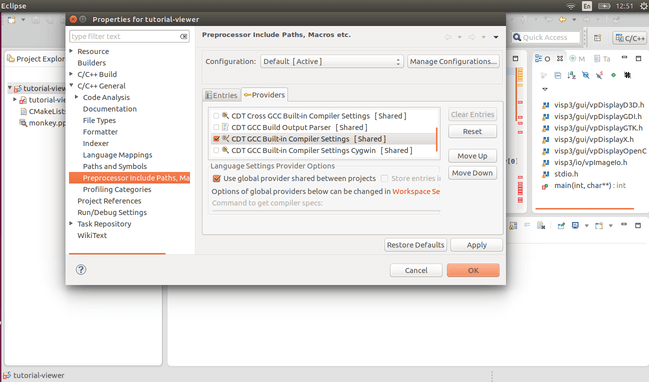
4) Wait until C++ indexer finished his work
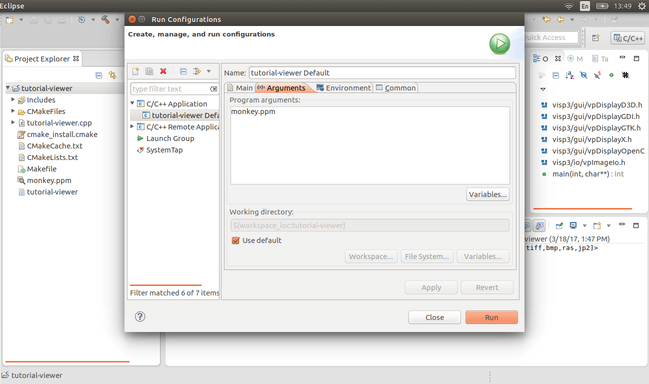
For some projects you need to specified input arguments
Right click on Project > Run As > Run Configurations > C/C++ Application > "Project" Default > Arguments
You are now ready to see the Tutorial: How to display an image in a window